Hope you all enjoyed your thanksgiving.
I have been super excited to share with you all the makeover that I did on my 6 year old daughter and 3 year old sons room. This is something I have DrEAmt about doing for years now; To completly transform their regular everyday bedroom to a Christmas themed bedroom.
I have planned and planned for a while now on how to do it. Basically I surprised them with new Christmas quilts and pulled out practically all their regular stuff in their room and replaced it with ChRiStMas things. I had soooo much fun doing this...
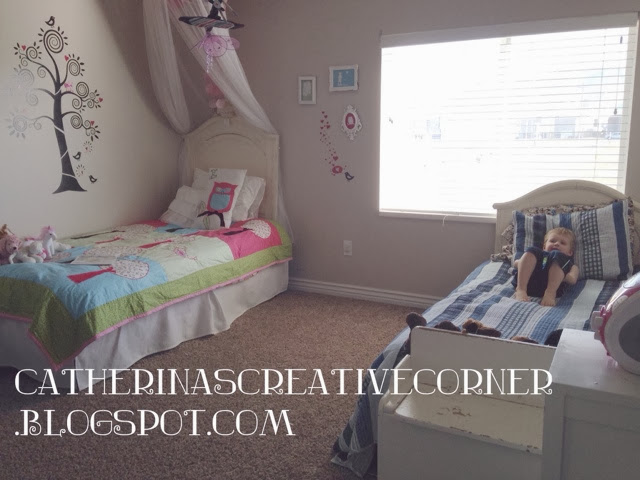
BEFORE

The first thing i did was to find the perfect quilts. I wanted them to be holiday themed but not anything too "ugly sweater" styled ( if you know what I mean). I looked for something that could grow with them. Also in my romantic mind I would hope that when they had grown up and would someday come home from to visit their mom and dad for the holidays that they would come home to their quilts...lol...I know, I am a total sap and love anything sentimental. I found the quilt for my daughter on eBay and instantly fell in love with it!


 |
| Nikon Digital camera pic....mUuuuch better;-) 12/17/2013 |
 |
| I covered up her old wall applique with this home made christmas tree. I used command strips to keep it up and added a simple bakers twine garland. A painted gold star to top it off. |
For my sweet little boy I could not find anything that would match his sisters, and that still would be boy enough for him. I think I spent hours online...and than I realized that I would have to make one myself. Here it is...

 |
| Nikon Digital camera pic....mUuuuch better;-) 12/17/2013 |
My first attempt at quilting on a quilters sewing machine...my goodnes I was having WAY too much fun on this...especially with the "freehand foot". Oh dear, anyways...I LovE this new "brother" sewing machine!!!!! It ROCkS! I will have to post some more detailed pix with my Nikon, but for now folks, you get to view it through the eyes of my iPhone;-) lol ...

Next up sillouettes...
Oh dear, I have been working on some other sillouette projects ( will be posting them soon...but here's a hint..Christmas pillows). I just need to take their pictures so stay tuned!
So I replaced the old pictured sillouettes. With these new reindeer themes ones. Hello! I swoon everytime I walk by them!! I am very pleased how they turned out.:) I found some images online and than printed them out. Found my scissors and cut them out, than painted them with gold paint. I absolutely love how the texture shows through the gold. After 3-4 coats they look like they are gold leafed...stunning:) an unexpected surprise for sure! I glued them onto some music note fabric....( I also made snowflakes to cover up some stencils on the wall.


Another image....perfect for my boy and girls shares rooms.


A picture of the sillouette process


Christmas decor...

And to finish it off their very own tree ( thanks Ikea)

And there you have it...
A real little piece of Christmas heaven:)
Ps my littles have been going to bed wearing the Santa hats I left in their room...every night since!
Love it.
Thanks for stopping by:)
Cat
linking up with:
http://linda-coastalcharm.blogspot.com/
linking up with:
http://linda-coastalcharm.blogspot.com/