Pages

Showing posts with label Glaze. Show all posts

Sunday, May 29, 2011

Burlap Starfish Art

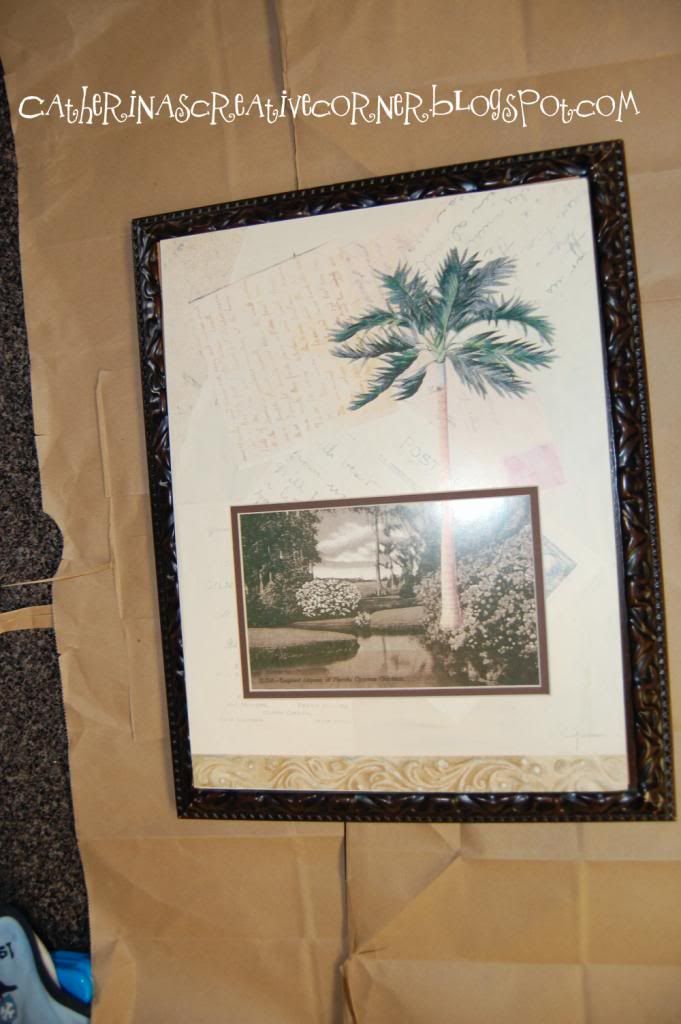
So, when you need some new wall art for your home, just make it yourself! Total cost for this beauty was $0....because I had everything already on hand:-) I started out with this old picture frame {found in an old storage unit} for FREE! lol.
Here it is, it was a nice dark cherry frame, but since I am trying to light up our apartment I wanted something a little bit more cheery in color...so...what to do...you PAINT IT! Hmmm what color?
Yup you guessed it!
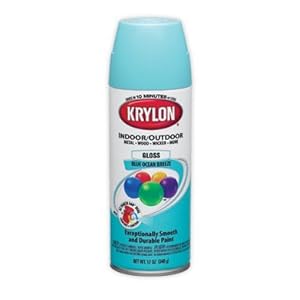
Blue Ocean Breeze...yet again! lol. Note colors that I always have on hand are silver, white and several shades of blue....LOVE it!
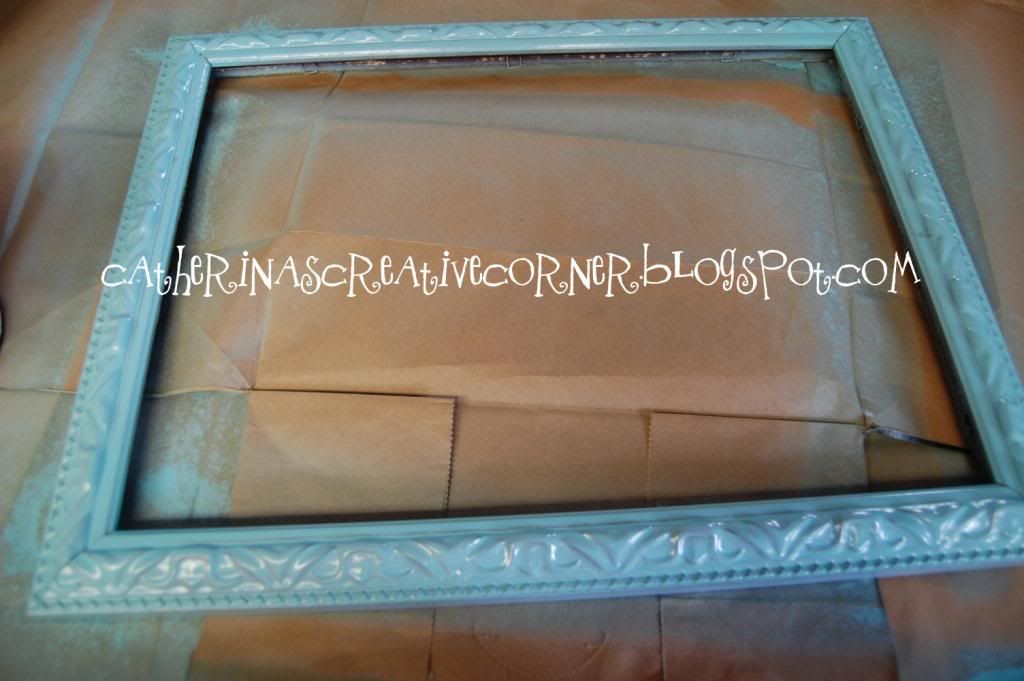
First coat. No need for primer in this project!

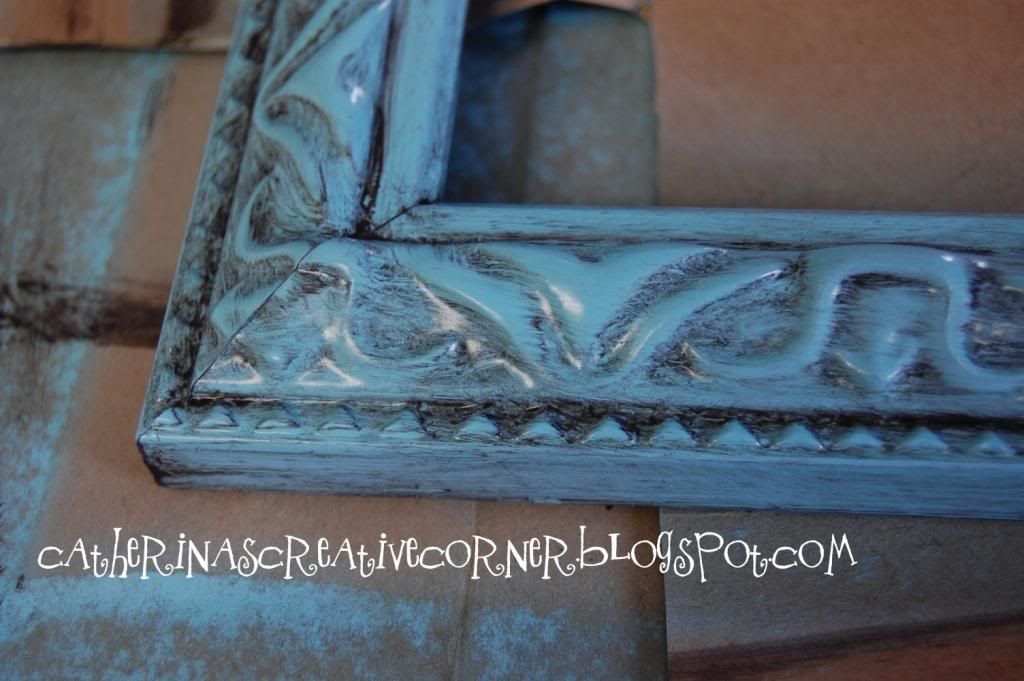
Once that dried I went ahead and used a nice dark glaze to bring out the details. With two rags {one damp cloth and one dry} to wipe any off to get the desired effect i wanted.
A close up of the glaze 

After it dried, I busted out the sand paper....

Printed out a picture of my favorite starfish {yes, I did not even attempt to stick a REAL one in there when this one did the job}! lol , and pasted it on a fine piece of burlap....and Voila; my shabby sheik "cottagee" ocean like wall art! ;-)

Now my 1/2 bath is a little happier! Now doesn't that make you want to look around your house and see what you can make out of what you already have?

Thursday, April 28, 2011

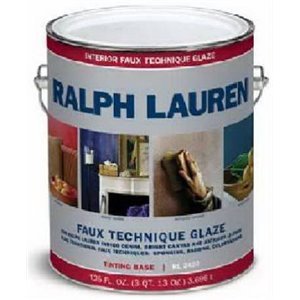
For the Love of Thrift stores {Ralph Lauren Faux Technique Glaze}

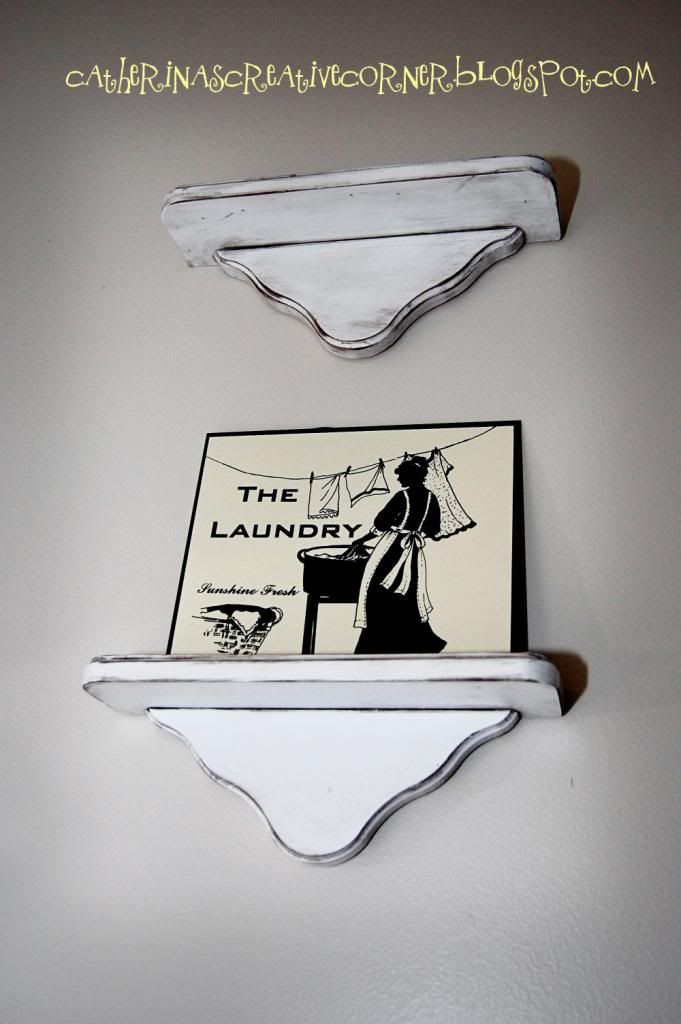
So I Love to go to the thriftstore to see what cheap junk I can make into my own treasures! I am currently working on my laundry room, making it lovely, and so when I happened upon these adorable shelves for $1 a piece I could not resist! I have a love for Glazing things, and this just worked out Splended! I think this small can of glaze will last me for the rest of my life, one only needs to use a tiny bit. So, here it is...my first new addition to my laundryroom redo...
what do you think?
Get some of this if u dont have any....its Wonderful!
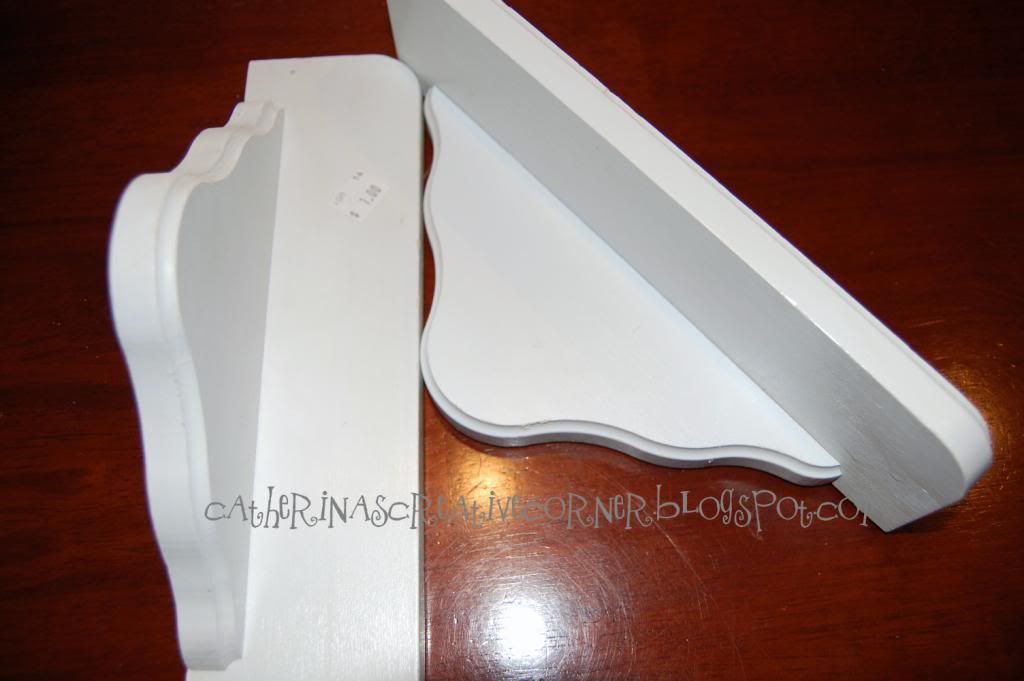
BEFORE pic: Here they are in all their plan glory! 
AFTER: I sanded them....glazed them...and.....DONE! 
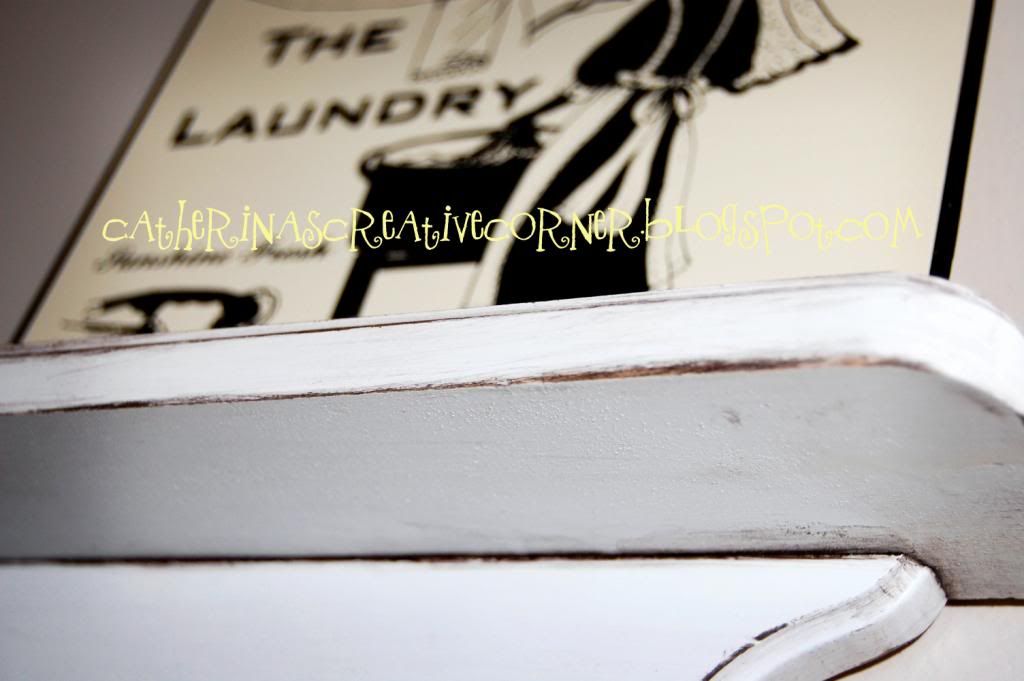
Here is a close up so you can see the texture and "antiqued" look it gave them.
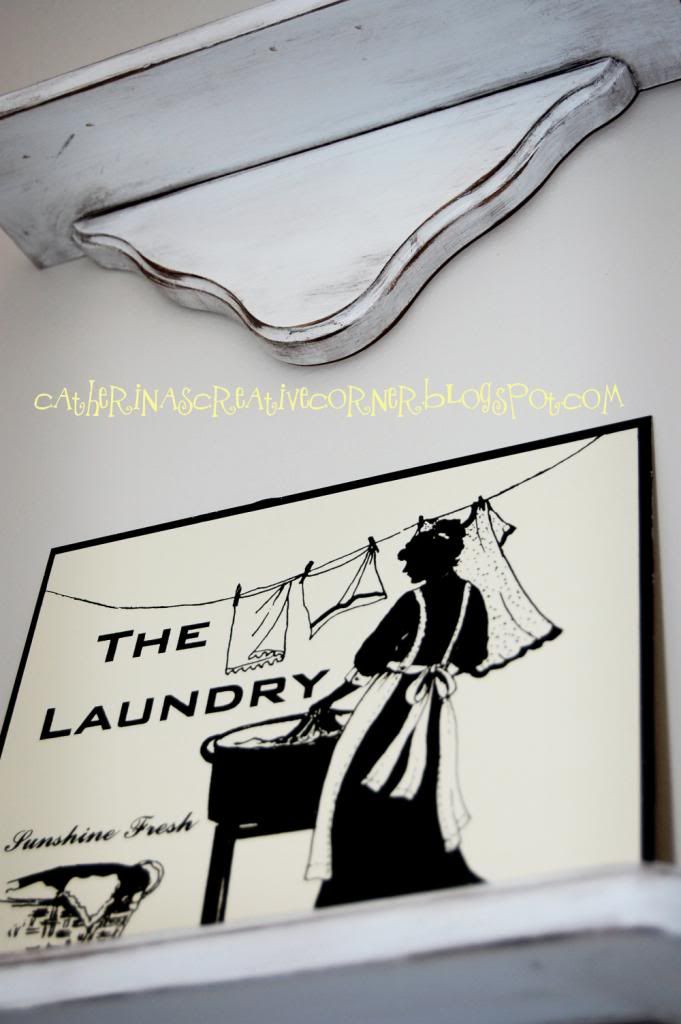
And here is another; I just LOVE how they turned out. I will ALWAYS try to make an excuse for  using ME Glaze:-)

I brought this to the party at
Related Posts Plugin for WordPress, Blogger...