Pages

Showing posts with label burlap. Show all posts

Tuesday, October 29, 2013

DIY birthday crown (baby`s first)

So here is my reason for not posting so much lately...this little lady of mine, my baby girl E... lol.
She just turned 1 and for that I wanted to do a cute little photo shoot. I used to have my own little photog business, and when baby E came along I had to stop. I think I might start up again, when all my kids are in school...so it could be years from now. My kids ...They just need me too much.;-) And by golly...I need them too!
 Anyhow...trying to get out of the house can sometimes be difficult with 2 little ones and one in 1st grade, so I decided to do her 1 year photo shoot at home. It is something everyone can do, and get pretty nice results. I discovered this for myself when my little boy was just a wee one too. I would open up the blinds in my bedroom, make the bed *of course, sit hime on the bed  and than just let him play. I would get some wonderful pics from that, and it was soooo much easier than taking them to a fancy outdoor location to do pictures. 
I made this crown for  baby E out of card stock, burlap,and different embellishments such as laces, rick rack, pompoms etc. I loved how it turned out. And it was so easy to make. I measured her head, and cut out a the W type crown free handed.  Super easy. Than I glued the rest on...so fun! 

Here is how it turned out.


and here are some of my favs from the shoot....


thanks for stopping by!

hugs
cat

at the party with
http://linda-coastalcharm.blogspot.com/

Wednesday, October 23, 2013

DIY Kitchen art

 So, for years almost now...lol..well, you know how there is always a project that you want to get done, its always in your mind, but you never really get around to doing it? Well, this project was one of those. I am so pleased that I finally got around to making this. It was super cheap and I like how it turned out.

I think I would like to make some more, whenever I come across a super chunky frame to replace this one, but you get the general idea. It makes me happy every time I look at it:-)


 Supplies:
a 8x10 Picture frame ( I found mine at the dollar store)
Just make sure your silverware fits in the frame.  
burlap
silverware (these were also at the dollar store)
spray paint (I used Rust-oleum  Heirloom white)
Glue Gun

staples (optional)


Firts I spray painted my frame AND silverware. The silverware I spray painted BOTH sides.
After that dried I used my stapler to fasten the burlap to the picture frame. It was such a cheap frame that I could do that. I found it worked much better than trying to glue the burlap on. 
Next I glued the silver ware on. Let it dry...viola and DONE....


I already had the glue, paint and burlap...so this cost me only $4, to make...AND I have more silverware leftover for some more crafts in the future.
Score!

Thursday, May 30, 2013

Hurray for SUMMER! 4th of July Decor....

Schools out, time to celebrate with some Red white and blue.  I love this wonderful County  , and I have always wanted to get festive for this time of year. So I came up with a   few new things....

Found this cool Thomas Jefferson plate at the thrift store for $2.00! I LOVE it! Than I got a few old frames, painted and distressed them.  I painted/stenciled the 1776 est. on this linen type fabric. 
.LOVE.

I made this wreath inspired by this one

. I LOVE hers SOOO much, so I made the base of hers, and than added my embellishments with push pins ,so when our Independence day festivities are over, I can change these and   than attach the starfish decor like hers. She did such a beautiful job! I love mine now, and cant wait to get to `updo` it again after the holiday. After a few years now of collecting ocean things I realize that I   i love all things Nautical :-) 


I googled and printed out a copy of the Declaration of Independence. Placed it in this frame that I also repainted. I have a love for Seashells...have been collecting them since I was a kid in Denmark. I love getting them all out for the summer months....Had to add some to this. I even bought me some beautiful ones while on our trip to Hawaii. I will have to post about them later.


An old piece of driftwood I painted some blue and white stripes on

More fabric painting.   

Heres my little corner


And to end it, I painted a starfish on my old burlap pillow. Remember the old & sign./? This is just the other side.

Hurray for Summer!!!!

Saturday, January 5, 2013

Emilie Ana's {Vintage Inspired} Nursery


 So beginning Forever ago I began putting this nursery together. I am glad to say that I am finally done! I really love anything Vintage and Antique so this the theme I went with for my last babies nursery. There are so many small heirlooms in here too...its so very romantic.  Girly, pink-cream-gray-dash of red, and all things frilly, lace and ruffle! 
Here it is...
I am in love with how it turned out.


My sweet cousin made these yarn pom poms..she used them to wrap this darling blanket she made...I recycled them and added them to this lamp!

Some old vintage books. The "Easy Steps in Sewing for big and little girls" is actually an antique...100 years old this year. It is quite the little enchanting book....I started reading it to my 5 yr old daughter, and both her and I were captured by its magic!

I used the burlap mermaid table runner for her dresser...

Pom Poms! I love how these turned out! 

The little dress was her LDS Blessing dress and headband.  I framed some "Ugly Duckling" silhouettes that my aunt custom made for me years ago. The tiny baby picture is and old one my Grandma had hanging up in her house in Denmark for years. She gifted it to me last year...it is a picture of Yours Truly ;-)

I found a place for the {E} button picture...Love it!
"Friends"

Also the Duvet Cover they are sitting on I made, to match the banner above her crib.
I reused this bumper from my first daughter. Added lace to the top to give it a new feel.


Painted antiqued and distressed shelf

The tiny Danish Little Mermaid vase was given to me on the day we arrived to Denmark in 1986. Again a gift from my Danish Grandma "Farmor".


My all time favorite flower "Hydrangea"....dried from this summers garden.
Antique Tapestry from an old Salt Lake City Victorian Avenues home. My mother rescued it from a sweet families garage...They were happy to let it go to someone who would display it...I LOVE IT! 

My old Danish Antique tin doll....and a new tiny pair of crocheted booties...for our Emmie Girl.
Linking with:

Saturday, June 4, 2011

Mystical Mermaid Party

Ever since I was a little girl I have had a deep love for Mermaids. Growing up in Denmark, it is a really well known thing, Hans Christian Andersen's Little Mermaid. Andersen grew up in the same little town of Odense, that I myself was born and raised in. So I have always had a special place in my heart for the Mermaids. I remember being only 3 or 4, and my mother  reading me the story. It always brought me to tears even at such a young age. {FYI, the original story is sad at the end...because she DIES!}. Anyhow, so when I had a little girl myself I wanted to share my love for Mermaids with her:-) Last year, we had to do a very simple birthday party for my girl, because my little boy was only a few weeks old. And for that fact I didnt want to do a Mermaid party, because I wouldnt be able to put my heart and soul into the thing!lol. Thus last years was a store bought Tinkerbell theme. Wonderful, for such occasions! So I was eagerly looking forward to throwing this theme this year for my princess:-) She loves mermaids too, like me, and thus my daughters "Mystical Mermaid Party" was born:-)
I was inspired by Kate Landers party that she put together, because hers simply floored me! Stunning! And so I wanted to try and recreate the same style for this party with my own twist. It was important to me to make this as special as I could. {I sometimes feel limited because we live in a apartment and and with that, do not have a yard or a lot of space. So my motto is "Make your house beautiful no matter where you live"} With that in mind I set out on this project. So, here it goes....take a look, enjoy, and really....if you feel limited too because of space or "presentation", follow your creative intuitions...no matter where you live, big house, yard or not ! ;-)

{click on photo for larger pics}
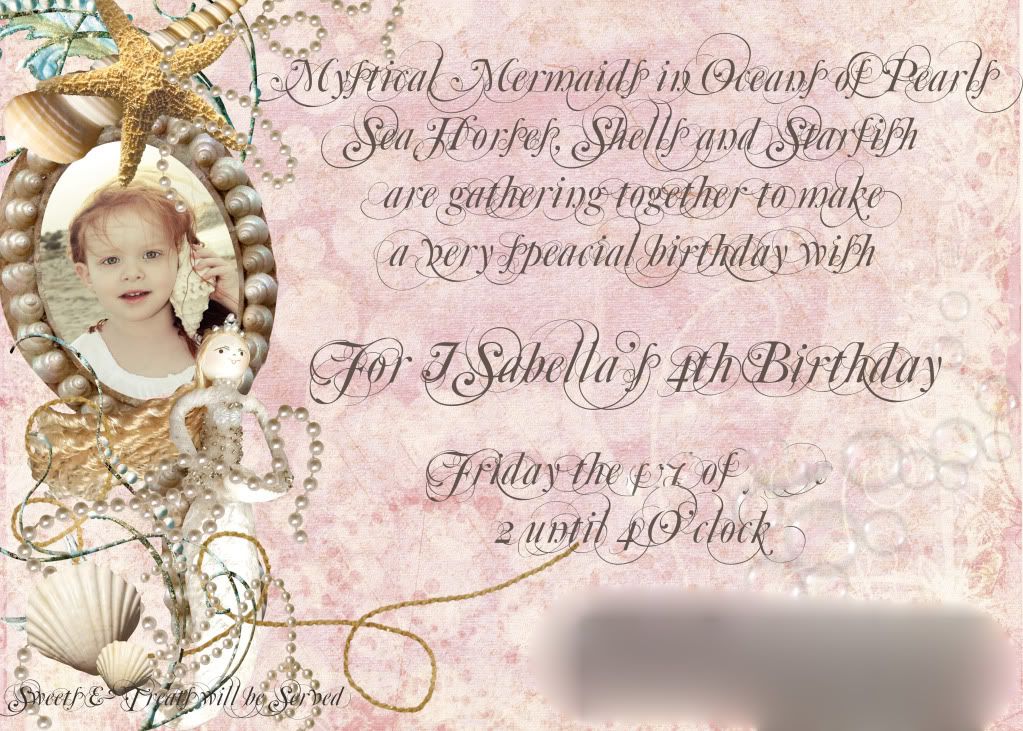
It all started with my custom mermaid invite.  For the color scheme I used whites, pinks {corals}, and anything natural.  Important to keep it simple...simple is always "more".

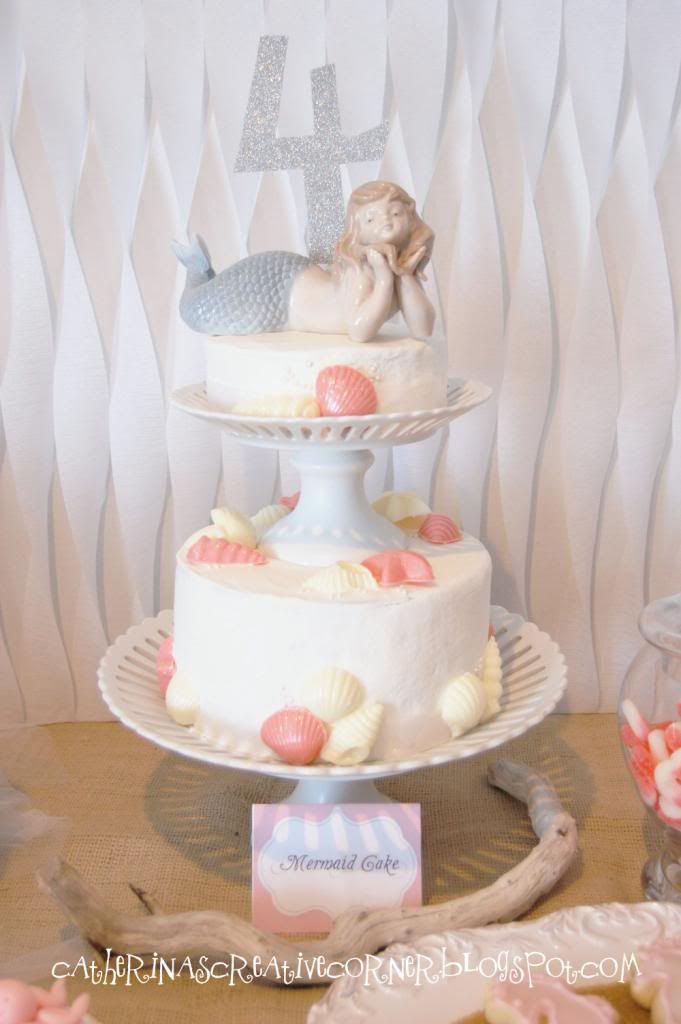
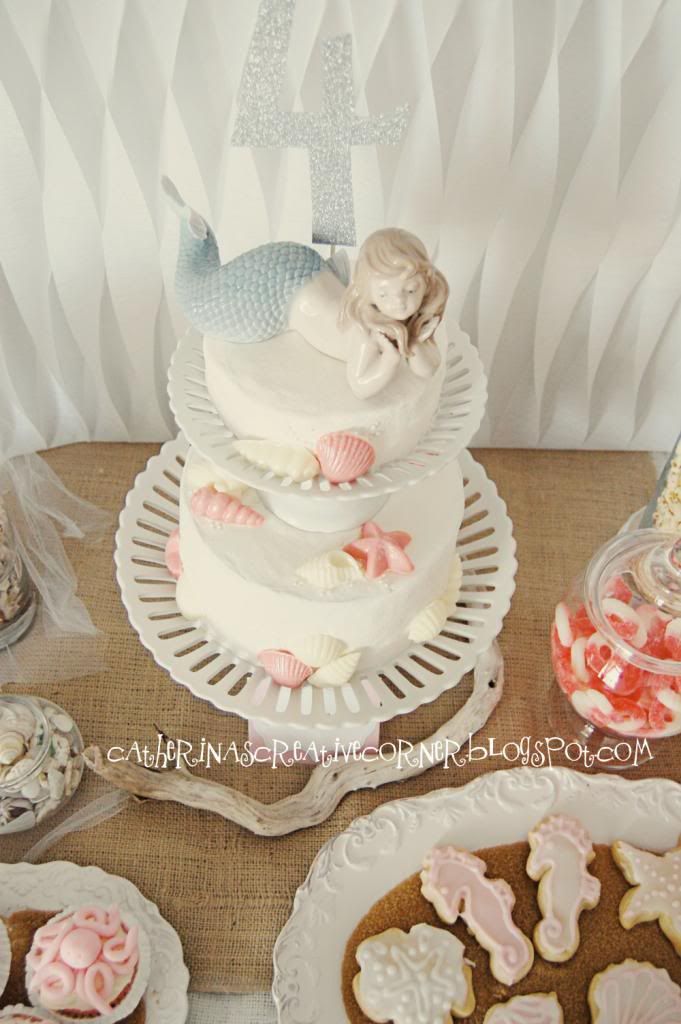
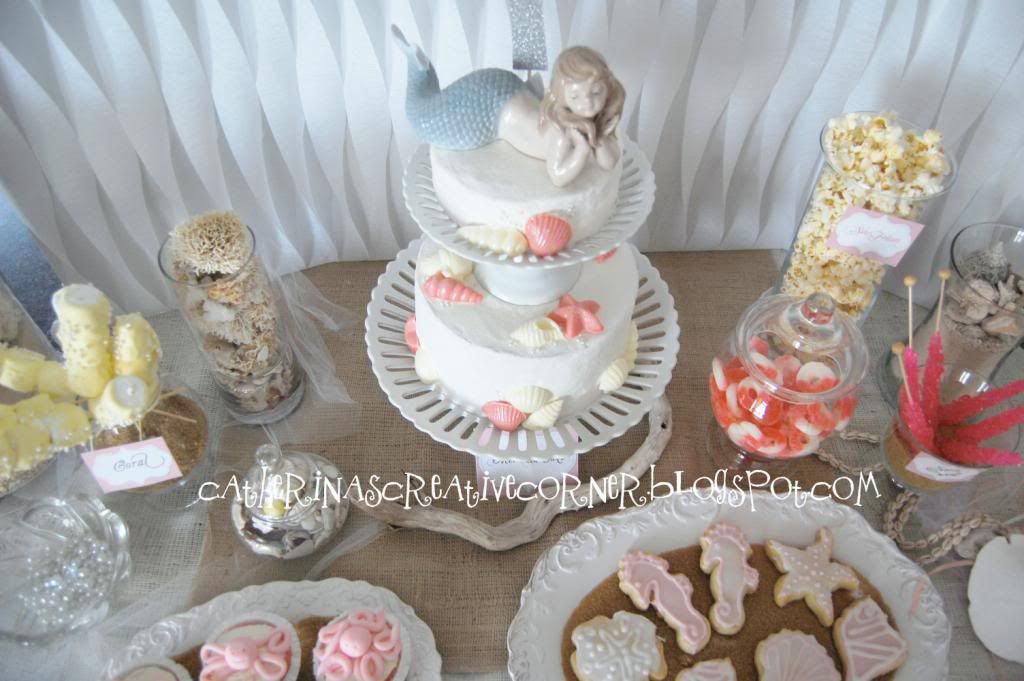
And of course...THE CAKE! Strawberry...YUM!
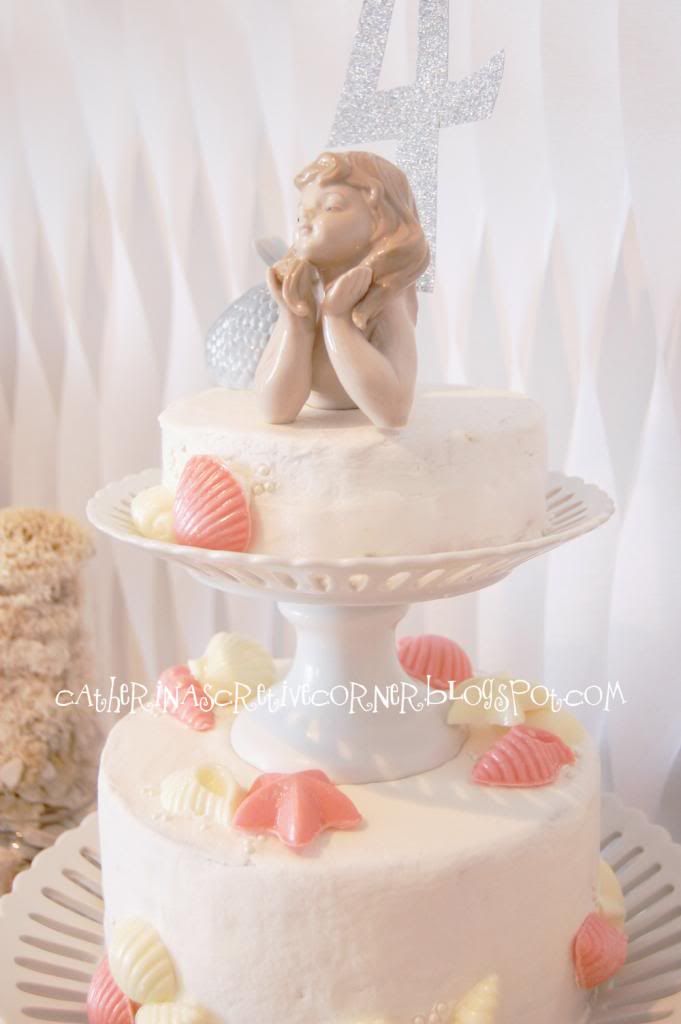
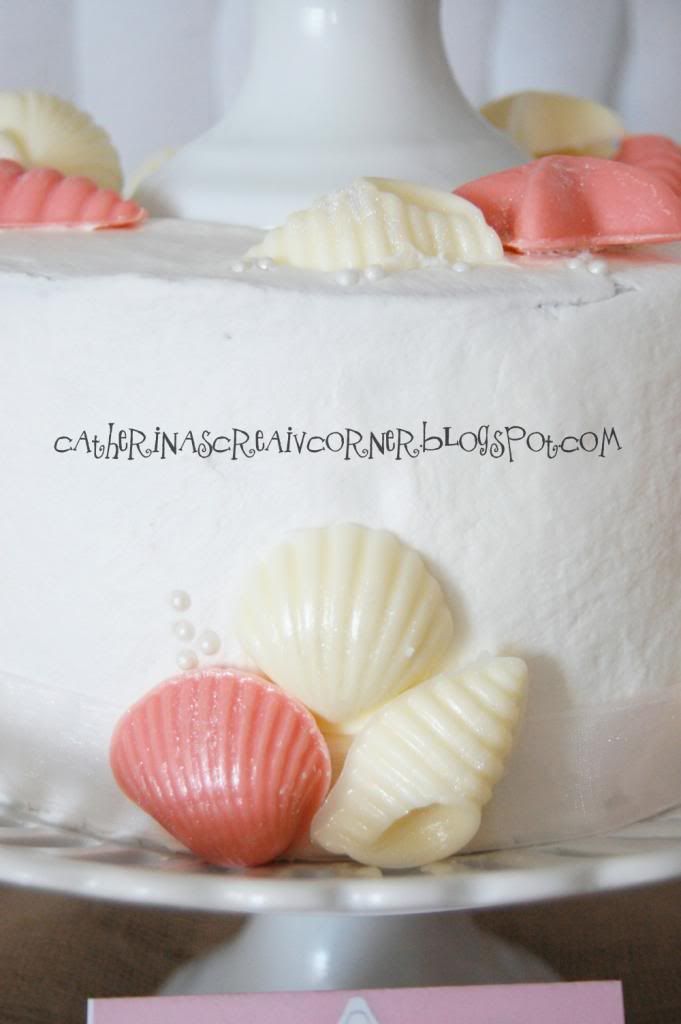
I used buttercream frosting to cover  it. No fondant this time, I wanted to try something new. I LOVE how the texture turned out so smooth!

The cake topper is a Lladro knockoff that I bought 4 yrs ago from Ross for like $5! {I actually bought it on my due date for my daughter...last minute shopping trying to get her here faster...didnt work..she came 3 days later!}


All of the white and clear vases were things I already had on hand, so that cut the cost down A LOT! I also made the white backdrop to give it a "waves" kind of feel.
Homemade chocolate shells with pearl dust and added pearlized sprinkles for some umph!
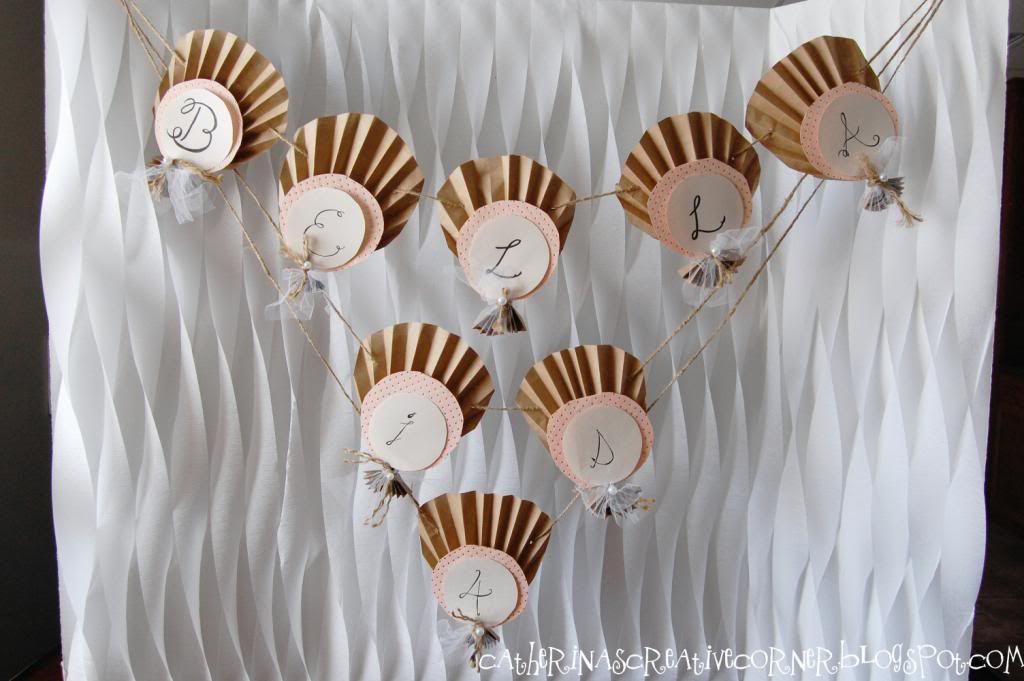
My homemade vintage inspired birthday banner. I had fun making this one up! I just love how the "clam shells" turned out!

 Octopus cupcakes. Strawberry with a cream cheese frosting:-) 
As you can tell all of the treats were ocean inpired, these are my "Coral". Marshmellows dipped in white chocolate and sprinkles on a stick. They were a hit!
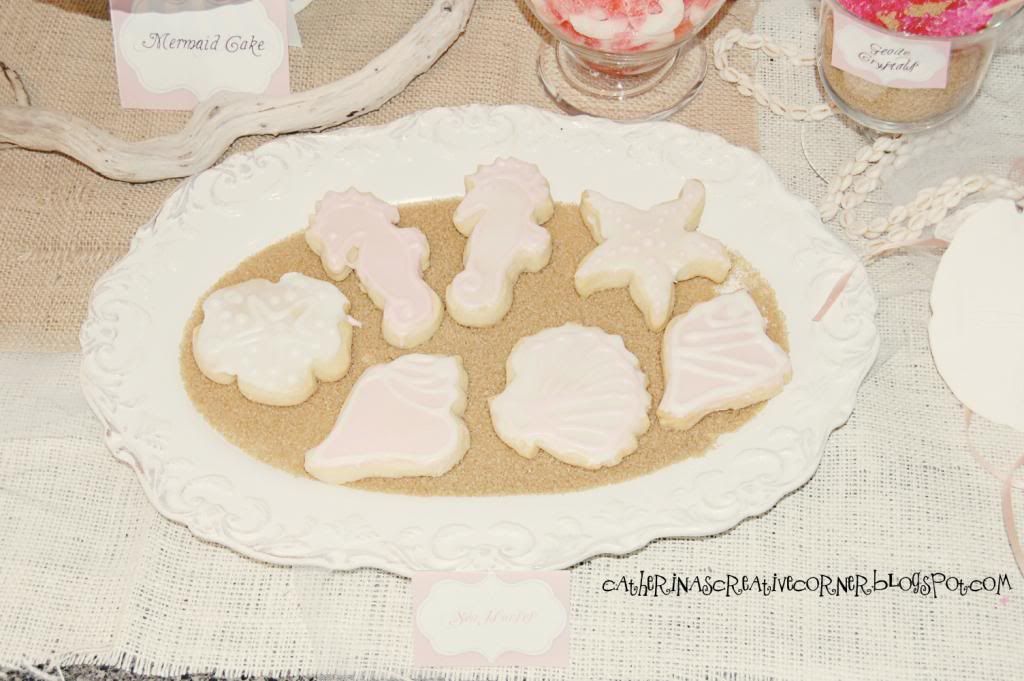
Seacreate Shortbread cookies. I made them the day before so I had time to frost and decorate them.

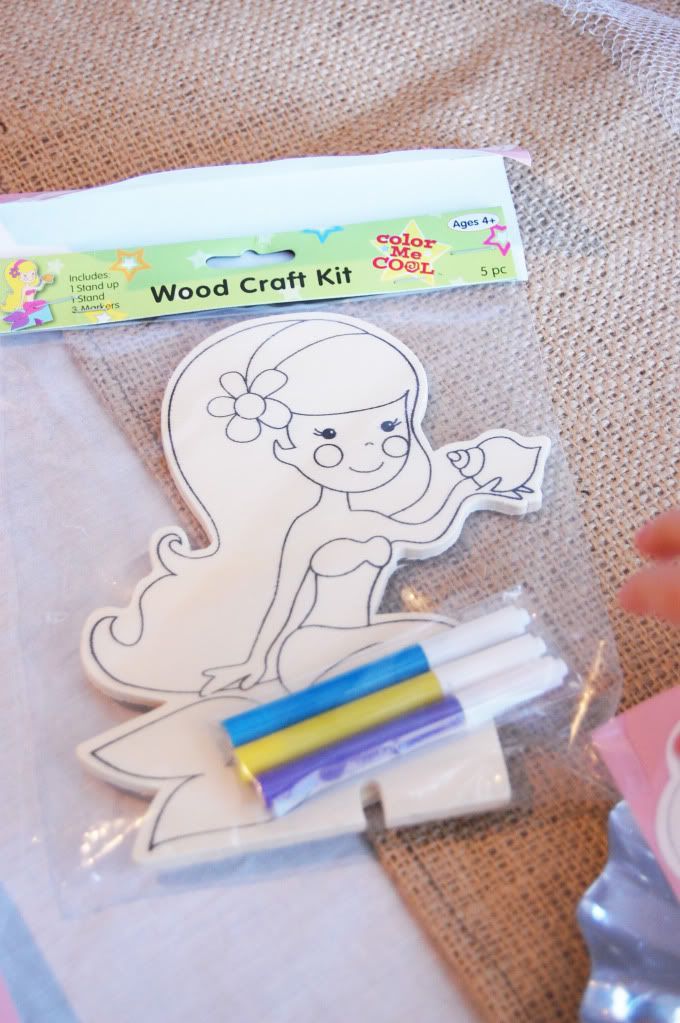
As a party activity I got these cute $1 wood craft kits for the girls. To make a more unified effect I made "Mermaid Fun" labels {above} and stapled them onto the original packaging. I had all of these darling things place in a large sea glass bowl with brown paper bag crinkle confetti in the bottom. Sorry, I didn't get a Before pic, you know how these kids parties can go! So, you will just have to imaging it! lol
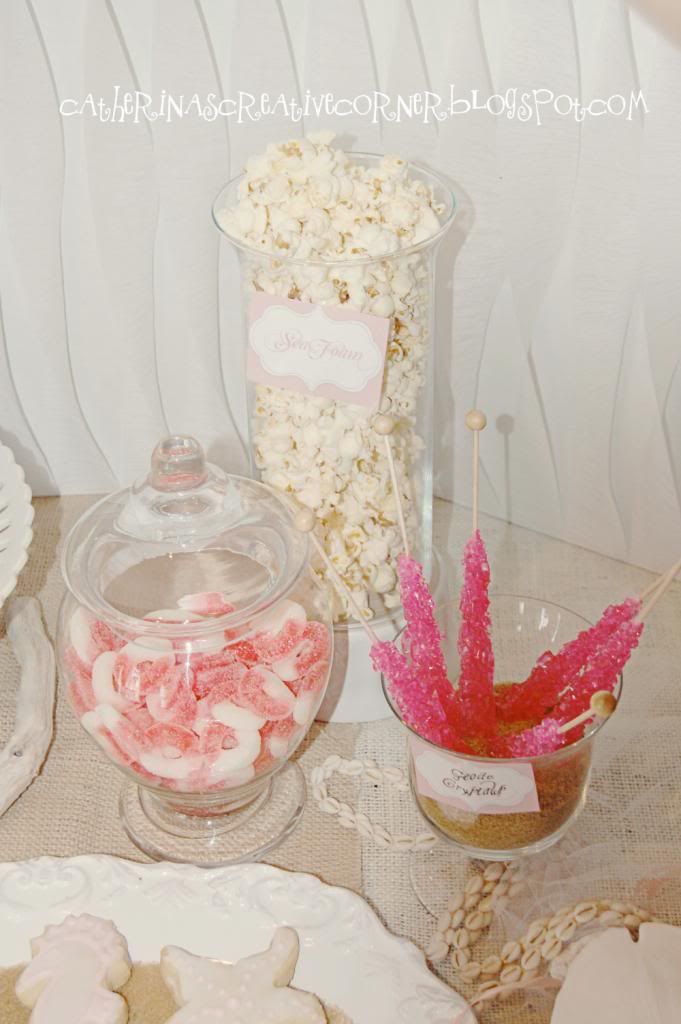
"Sea foam"~pop corn. "Geode Crystals"~ vintage rock pops. Everything was placed on a bed of raw sugar, to make it look like sand. 
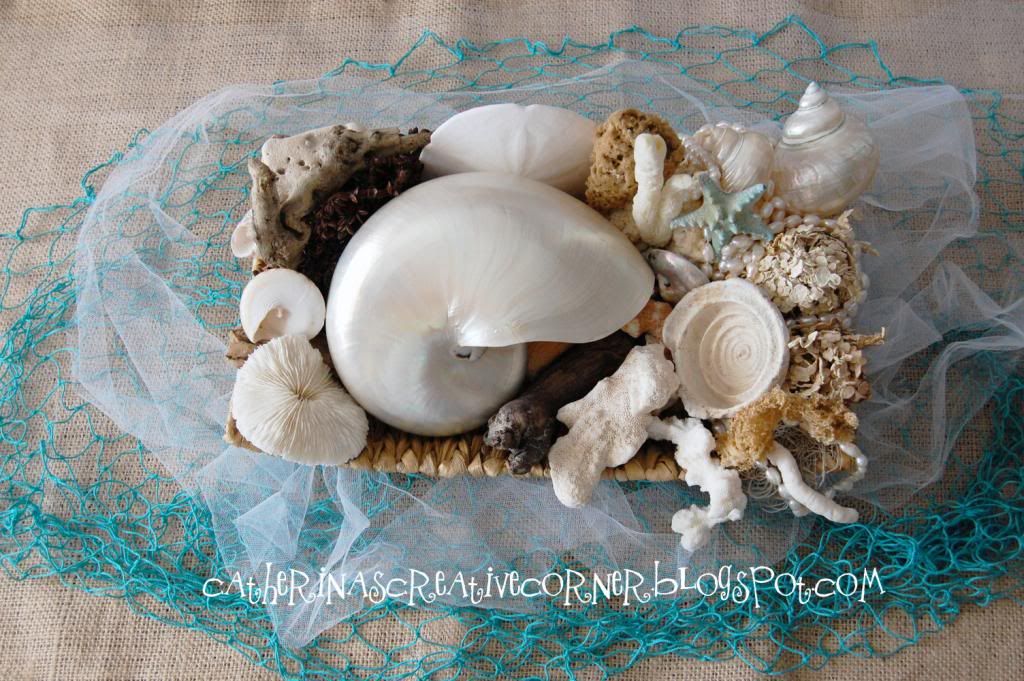
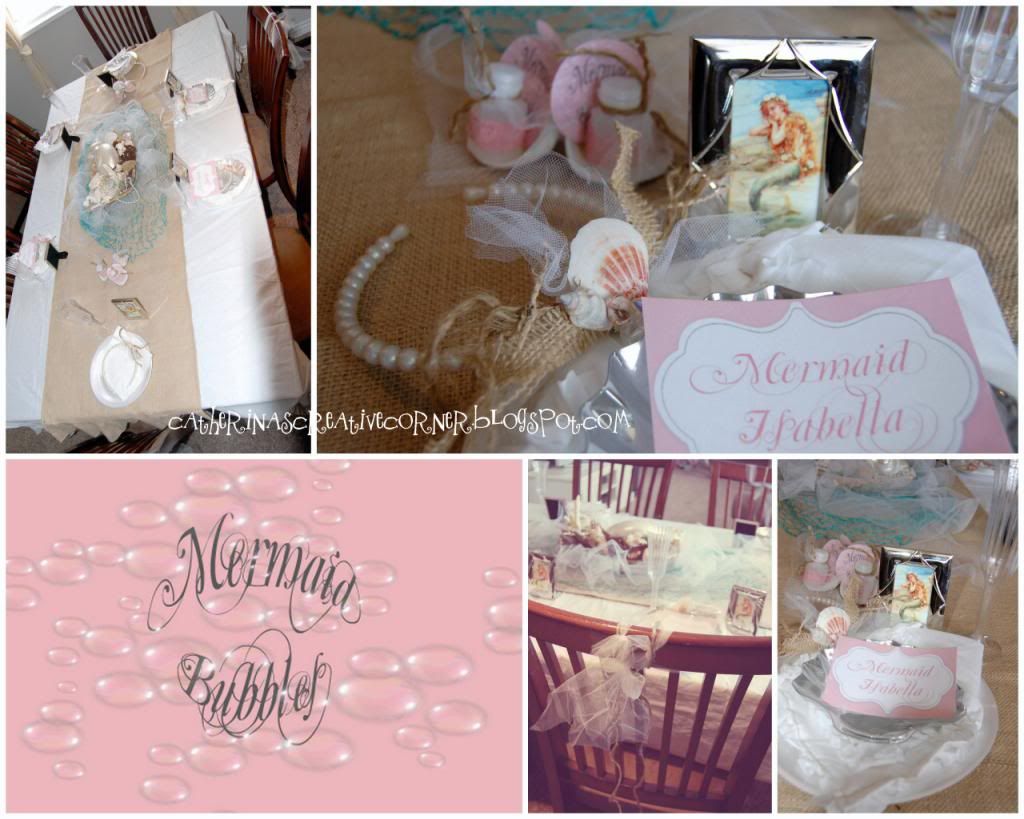
This was the centerpiece for the table setting. I used a TON of real shells, sand coral, drift wood etc. Anything natural. Lots of jute and burlap too. Most of it all was displayed in glass apothecary jars. A piece of fisherman's "net" and tulle brought is all together.

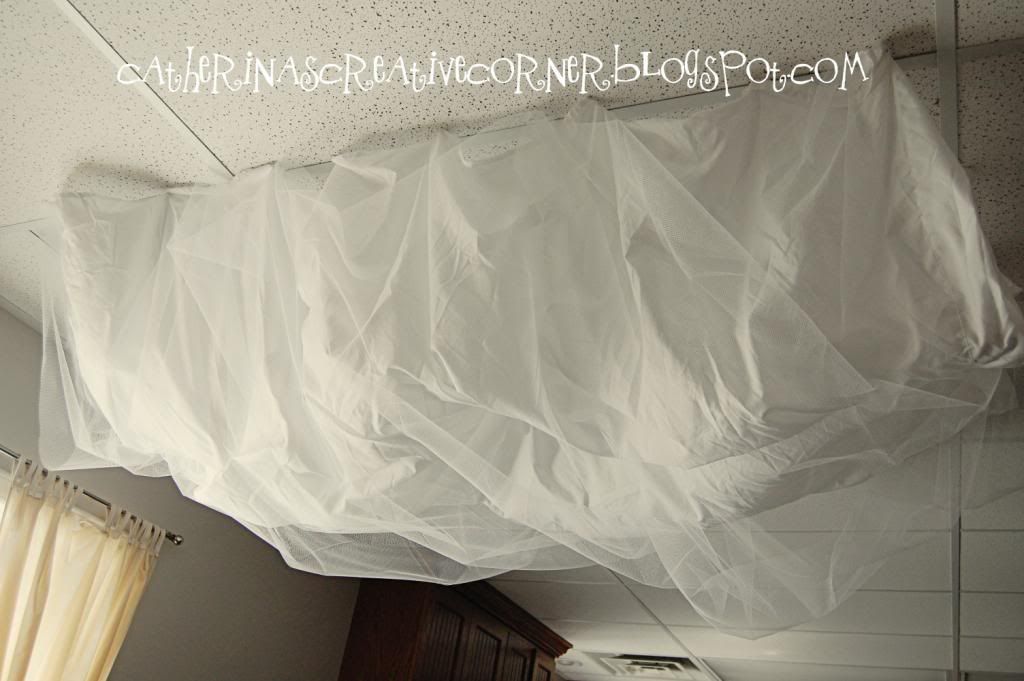
This was hung over the table. To hide our lovely industial ceilings. It made things real cozey and magical for the girls. White fabric and tulle. {shhh its a new flat sheet we never use}!

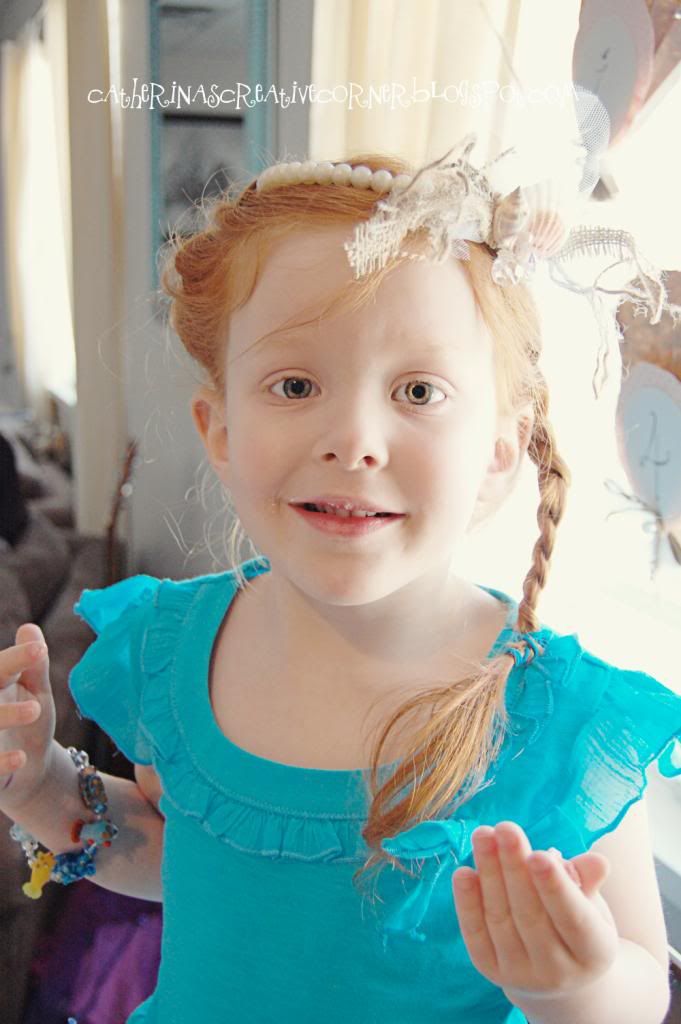
Gave the girls fancy plastic fluite glasses {for their pink lemonade}. As party favors I made them each their own mermaid crowns, and tails. Each girl also got a vintage mermaid frame and art to take home, with a "silver" {plastic} shell plate.
Pin the flower on the Mermaid! I had fun drawing this one! Can I just say I was in coloring/drawing bliss!lol
My Darling Little Mermaid! 

And here are all the sweet Little Mermaids in their crowns and tails.  I wish we could have invited more of her friends, but as you can see, our place is tiny! 

Seriously, I had the time of my life planning this! And gettin' my craft on to make all the decor from scratch and on a budget:-) {well, I did use a box cake mix and a little secret for the bottom of the cake...hehehe}. With all the work and thought that was put into this, I can say hands down that it was WORTH every minute of it. Why to do you ask? I know what you are thinking, THATS crazy to put all that work in to a 4 yr olds party. Well, my answer is this "This age is so precious, their innocence are just like "little mermaids"! And having the chance to make something magical is perfect for this time.
The look on these little girls faces throughout the party were priceless! They sat and took it all in like they were in a magical mystical Mermaid grotto, and that my friends was THE BEST Reward EVER! :-)......mission accomplished!

Sharing with:
Tip Junkie handmade projects
Related Posts Plugin for WordPress, Blogger...