Pages

Showing posts with label Vintage. Show all posts

Saturday, January 5, 2013

Emilie Ana's {Vintage Inspired} Nursery


 So beginning Forever ago I began putting this nursery together. I am glad to say that I am finally done! I really love anything Vintage and Antique so this the theme I went with for my last babies nursery. There are so many small heirlooms in here too...its so very romantic.  Girly, pink-cream-gray-dash of red, and all things frilly, lace and ruffle! 
Here it is...
I am in love with how it turned out.


My sweet cousin made these yarn pom poms..she used them to wrap this darling blanket she made...I recycled them and added them to this lamp!

Some old vintage books. The "Easy Steps in Sewing for big and little girls" is actually an antique...100 years old this year. It is quite the little enchanting book....I started reading it to my 5 yr old daughter, and both her and I were captured by its magic!

I used the burlap mermaid table runner for her dresser...

Pom Poms! I love how these turned out! 

The little dress was her LDS Blessing dress and headband.  I framed some "Ugly Duckling" silhouettes that my aunt custom made for me years ago. The tiny baby picture is and old one my Grandma had hanging up in her house in Denmark for years. She gifted it to me last year...it is a picture of Yours Truly ;-)

I found a place for the {E} button picture...Love it!
"Friends"

Also the Duvet Cover they are sitting on I made, to match the banner above her crib.
I reused this bumper from my first daughter. Added lace to the top to give it a new feel.


Painted antiqued and distressed shelf

The tiny Danish Little Mermaid vase was given to me on the day we arrived to Denmark in 1986. Again a gift from my Danish Grandma "Farmor".


My all time favorite flower "Hydrangea"....dried from this summers garden.
Antique Tapestry from an old Salt Lake City Victorian Avenues home. My mother rescued it from a sweet families garage...They were happy to let it go to someone who would display it...I LOVE IT! 

My old Danish Antique tin doll....and a new tiny pair of crocheted booties...for our Emmie Girl.
Linking with:

Tuesday, June 12, 2012

Button Nursery Wall Art {the beginning of a Vintage inspired Nursery}

I am expecting a baby girl this Early September! And I am SO very excited to start on her nursery decor. Its one of those things that keeps me busy and not thinking about how uncomfortable I am at the moment! lol
But I have to say it has been a challenge having 2 other little ones run around me, so hopefully I will get everything done in the next 12 weeks! 
My oldest daughter's room was pinks, reds and greens {with Vintage Cicily Mary Barker Fairies}  so this time around I wanted something different. This time I want to try and make a Vintage Inspired Nursery, in Creams, whites, Champagne Pink and a touch of Red....with a touch of Danish Fairy Tales.
I am still on the hunt for the perfect fabric for the Champagne Pink {with no luck}, so I will keep searching until I do. 
Here is my first project completed for our Sweet baby {E}. I bought this frame at the $1 store. Than added some rustic linen type fabric to the back. {I removed the glass}. Than with my glue gun in hand and a million of white & cream buttons i started gluing away....... 
Here is the end result....

 I even found an old antique pearl earring that I have had for YEARS {and I mean years...like when I was a little girl, this beauty used to sit in my jewelry box, all alone missing the other one}. I have always been a "collector" of things old;-)
 The cool thing about his is that I can always add new buttons to it, if I come across any i like. 
 This shelf was one that I had in the nursery already {I moved my little boy in with his big sister}...kept all of his nursery furniture for the next baby. 
 Twas origionally cherry....I painted and distressed it....I LOVE how it turned out!
Here is the BEFORE

Well stay tuned for my other nursery projects. I FINALLY can begin on them, now that I have both of my kiddies birthday parties out of the way:-)
Wish me good luck...this is my FIRST pregnancy that will last ALL SUMMER LONG! lol
I seriously give thanks in all of my prayers that I have AC! ;-)

linking with www.shabbycreekcottage.com

Thursday, December 29, 2011

Happy New Year! {2012 vignette}

What a wonderful Christmas we had this year! Such a special time for our little family. Today I began the "taking down" of the Christmas decor...sniff sniff. As usual I take everything down but my Tree. I wait to take them down until January 1. I love ringing in the New Year with the twinkleing Christmas lights in my living room. While growing up in Denmark, New Years Eve was always a BIG deal. Parties and Fireworks galore! We all would stand on a couch or chair and once the old towns clock in Copenhagen struck its twelfth chime we would "jump" into the new year. From outside could be heard a hurrendious sound of somethin like a war zone of fireworks filled the air. we would all wish each other a Happy New Year, sing the Danish new years anthem, and thus proceed to watch the queen of Denmarks Annual new years address to the nation. Whew...what the walk down memory lane!! So, to lighten up my spirits And saddened empty that the lack of Christmas decor left my home and heart, I decided to make a New Years vignette.
And let me say...it Indeed lightened my spirits to welcome in this 2012 year! A new year, new hope, new life, new dreams, new memories to be had, and new adventures!

 I kept up my cream painted branch, than looked up online "Vintage Clock" images. I downloaded them, and printed them up in black and white onto some cut up lunch sacks! lol. Than I embellished them with some old bookpage "firework" details. Hot glued it all together and added clear thread so they seem like they are "floating". And now I have Clocks hanging ornaments:-)
Here is a close up....Oh and I added GLITTER of corse! 
 Another close up...
 I had this picture mat lying around {a leftover from a Christmas present I made}. I knew it would come in handy! Quickly busted out my new Cricut machine {Santa totally surprised me with it this year...Oh how I LOVE my Santa};-) It happily cut out the {2012} for me. Than again added glitter to it all. {its hard to see on the pic}.
 My sweet Vintage B.L Snowman looked GREAT with this, AND I am so glad that he can follow my decor into the New Year!
 For some texture I used glitter Stars, silver ribbon and again my Cricut busted out these adorable snowflakes. Natural colored paper confetti and a antique crochet doily for the backdrop. I also added some crystal beads for some Bling. {New Years Eve is all about Bling right}?
 I filled some crystal toasting glasses with Pearls....ahh I love me some pearls!
And there you have it, A New Years Vignette, made of things I had lying around the house.


 Happy New Years!

hugs
Cat

linking at :
http://frommyfrontporchtoyours.blogspot.com/

Wednesday, November 30, 2011

He knows me so well!

Ok. So my sweet husband brought me home these yesterday {with a few other antique treasures}! He came across these while cleaning out some storage units at work. {someone had left them behind}. I am ECSTATIC! A whole set of 10 Vintage Griffith's Laboratory Milk Glass Jars. SWEEEEET! Mine are like the ones in this picture {these are from a pic I found online}. They have the red lids, and only 2 original labels left of them. I am not in love with the Red, so I have plans to repaint them. {Sorry to all you red lovers out there, the Red is nice, but it doesn't match my kitchen decor.} My husband knows me so well:-) It was like Christmas for me! Anyhow, stay tuned for my Vintage Spice jar revamp...
Now what color to paint them? I was thinking perhaps oil rubbed bronze?
Any suggestions?

Monday, November 28, 2011

My Burlap, white & silver Christmas Trees..

I have told this story before, but we have a tiny little place. And thus, a normal sized Christmas tree would just be too large for our "skinny" living room. So my mother in law gave me these 3 trees years ago {she was getting rid of them}. And until we move into a house I have been using these, and they work GREAT! They can fill a lot, but still keep it on the "skinny" {if that makes any sense}. My tree has always been white, red and silver. So this year I took out my red ornaments, to switch it up. {Yes, I have joined the masses in doing an all white Christmas tree}. But seriously there is just something so calming and classy about it. My daughter and I had a blast setting this up. And we still have our sweet red ornaments {I used them for decorations upstairs in our bedrooms this year}. YES, decorating for Christmas in our Bedrooms! Its a brand new thing for us....Yipee! ;-) {pix to come}.
Dont mind the bottom of the trees...my kids like to make messes with our Danish Christmas Elves and Fisher Price Nativity;-) I am in the process of making a ruffle tree skirt to go underneath it;-) Stay tuned!


This tree has Vintage, Rustic and some glitz and glam:-)

I LOVE snowflakes!!


I have ONE red ornament on this tree. A nail with a red ribbon tied around it. It is a sentimental thing, that helps us focus on the true meaning of Christmas. {The vintage frame has a poem that goes with it}


I think I still have a few handmade ornaments to put on this tree before it is perfectly done. You know how it is...Christmas Trees a constant work in progress. lol

And here are my vintage inspired heirloom stockings I made last year. I have this nice new garland that I bought last year to go with it....LOVE IT! ;-)
And there you have it.....my Trees this year.

Thanks for Stopping by my CC's Corner!

~Cat

Wednesday, August 17, 2011

Scandinavian Antique Bed revamp {Im in heaven}!

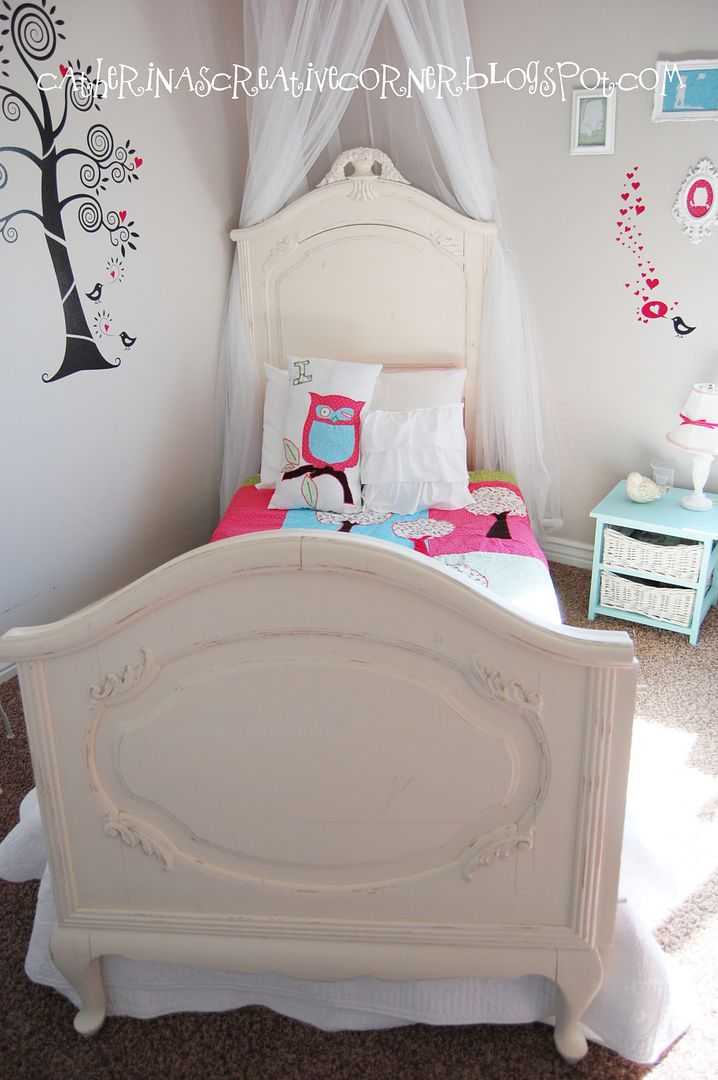
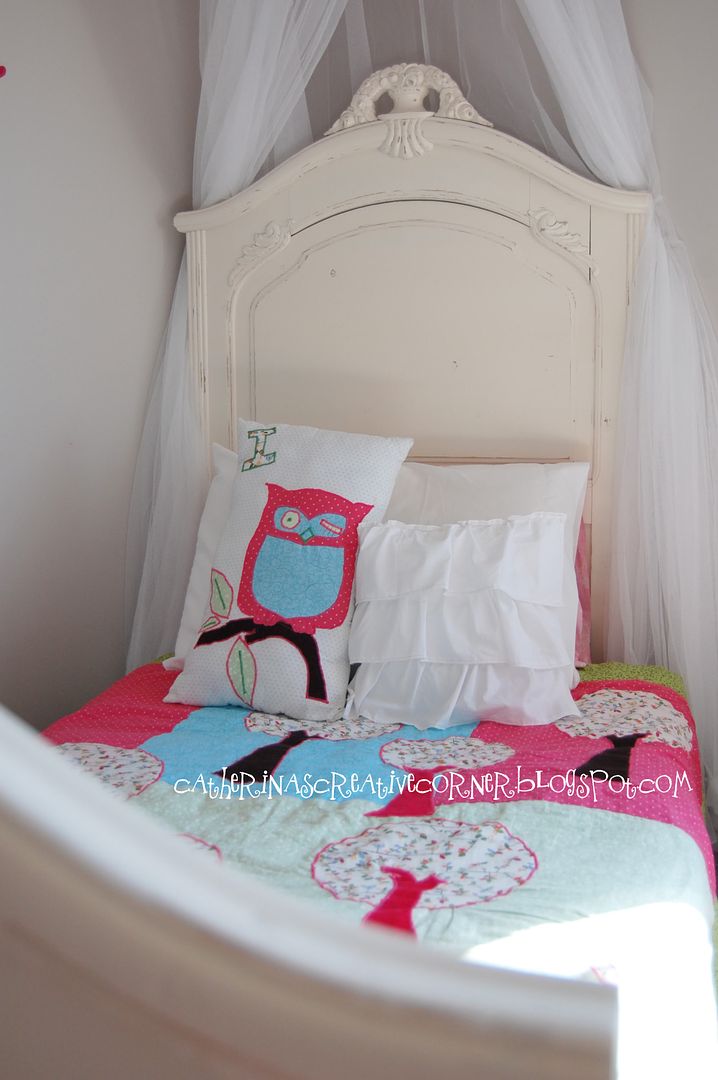
Finally! This project has been sitting in my garage for well over 3 yrs! This beauty is a bed that my mother brought from Denmark when we moved here 14 yrs ago. She bought it when I was just a little girl. It is over 100yrs old and used to be in a castle we are told. I have always loved it, and when my mother offered me and my sister one bed each {it used to be part of once large bed, that can be made into two}, I couldnt WAIT to paint it, and let my little Princess have it for her bedroom. {Now I can say that her PBkids Brook Bedroom "knock off" is done! At least for now....lol} p.s. scroll down to the bottom of this post for old links so you can see her bedroom transformation.

Well, the bed was first given to me when my daughter was still in a crib, and it seems like whenever I wanted to start working on it, it either was too hot, too cold or I was too pregnant to take on this task. 
And now....FINALLY I got it done! :-) And I am ecstatic! Here is what went down....
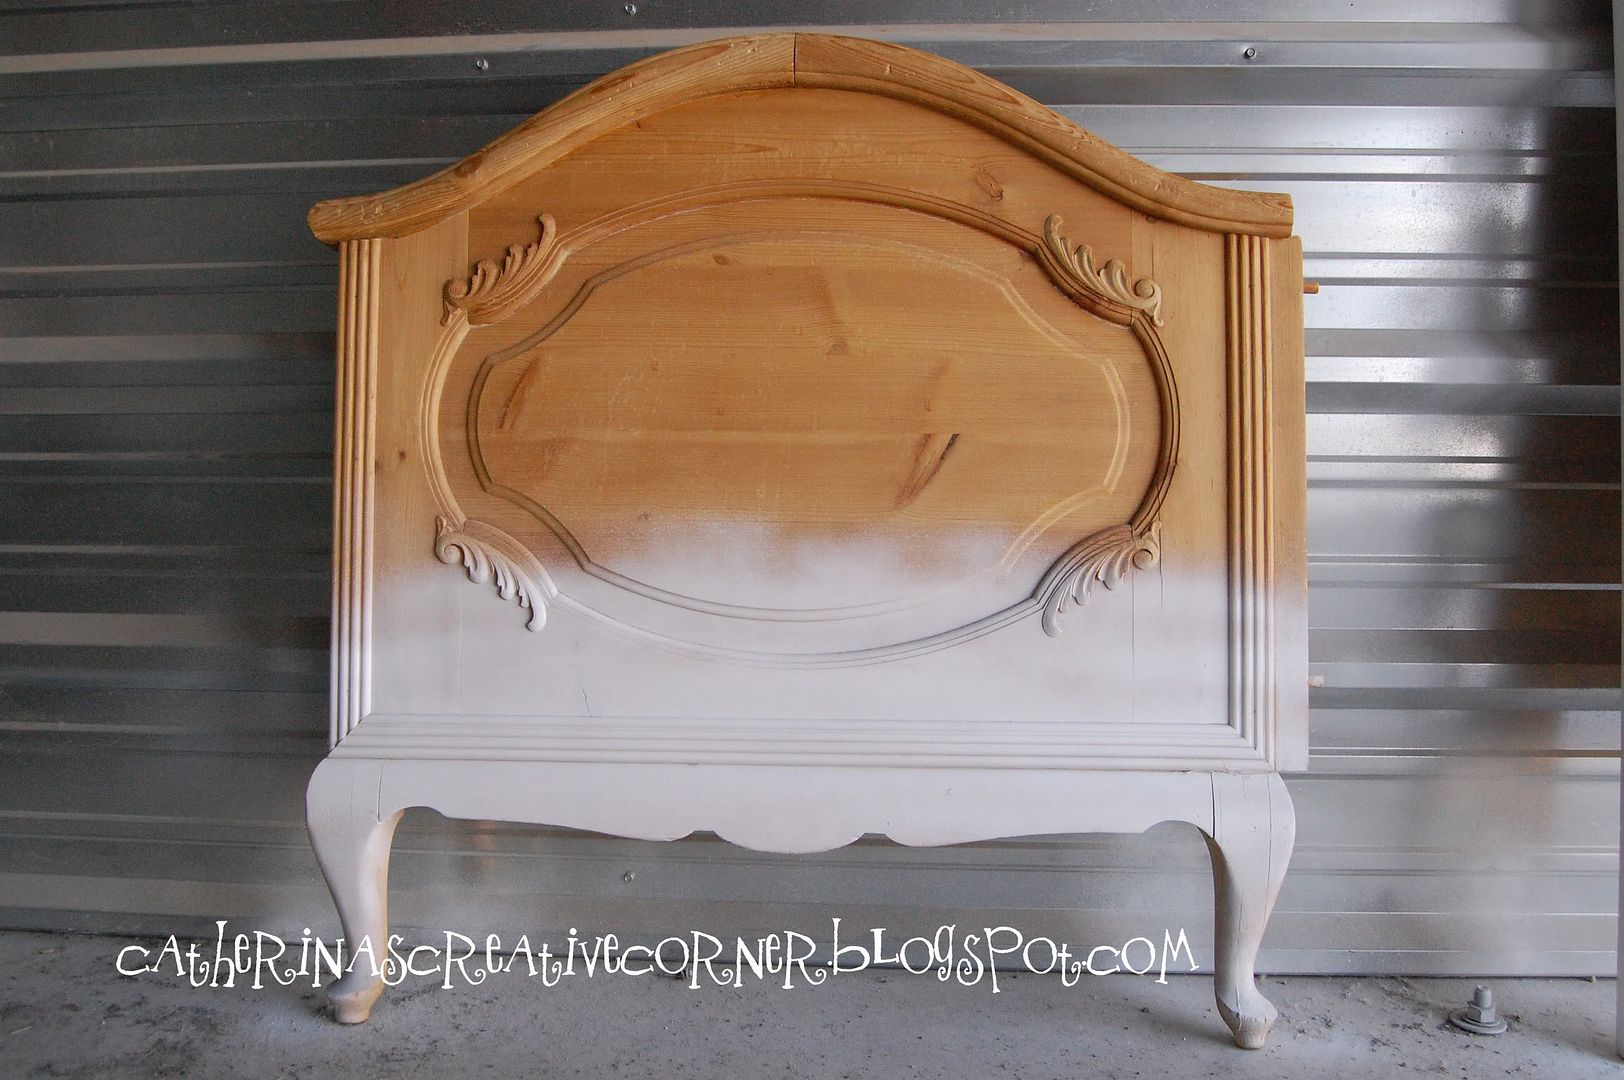
Here is the BEFORE. I think it is made out of Pine. Either way its made from the trees from "my DANMARK". And I LOVE that about it:-)
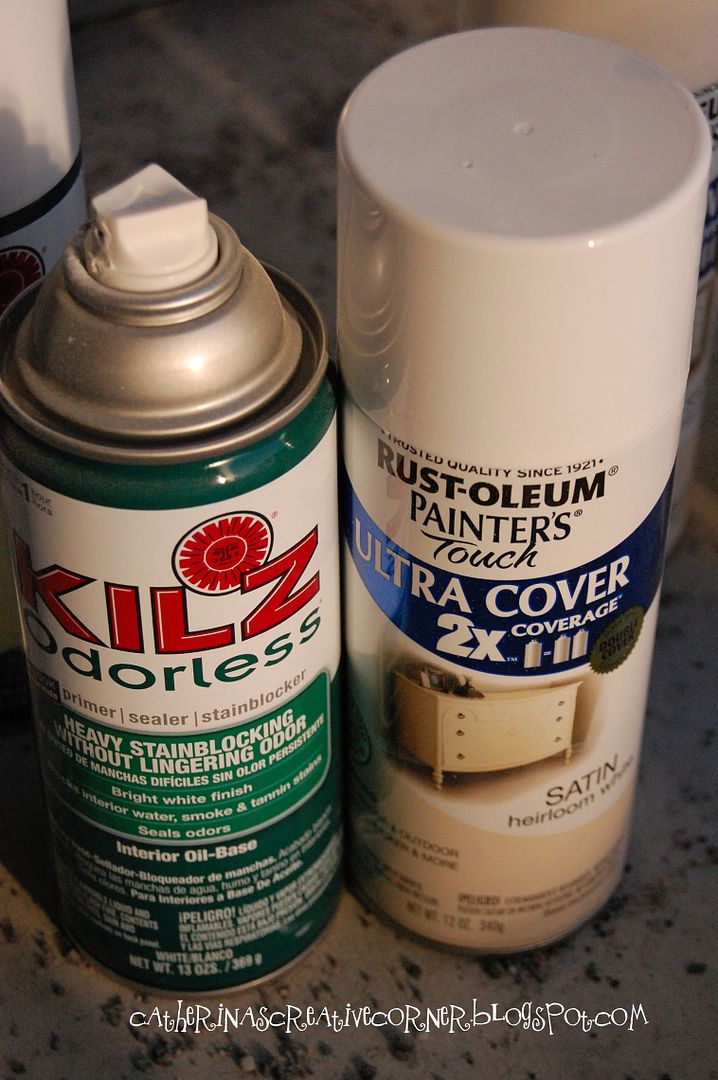
I started by wiping it down, getting all the dust off of it. Than it was off to Priming it. Kilz definitely is my favorite! It goes on real well, and this one was a Odorless paint too. Made a big difference. 
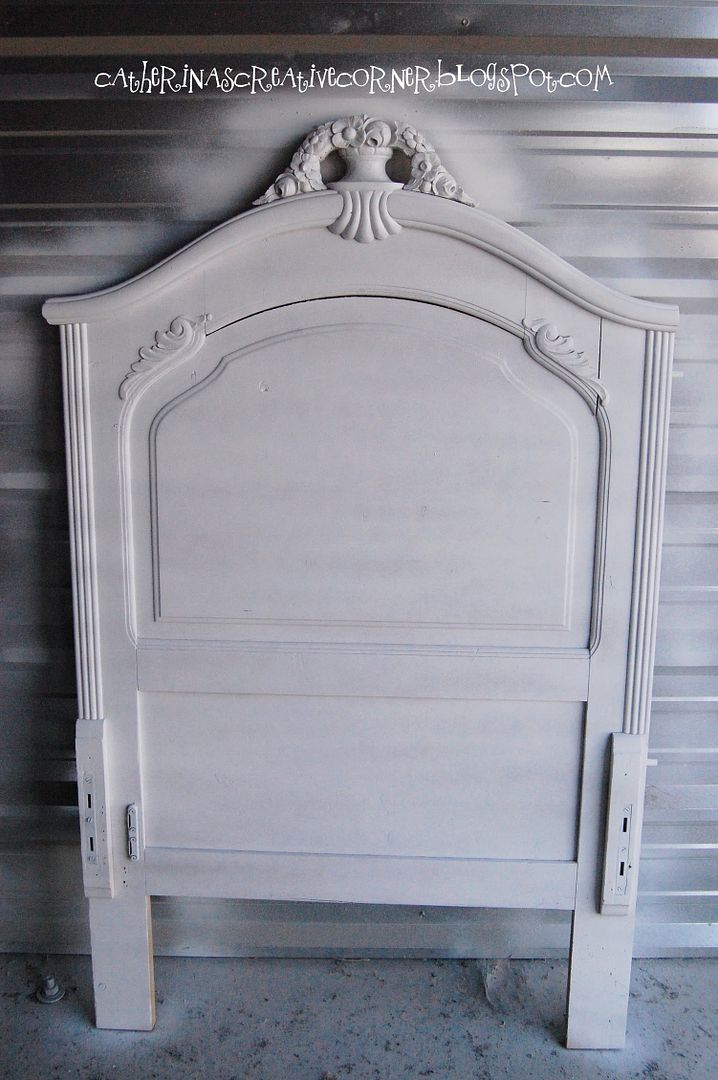
Here she is all Primed and ready to go!
I used Rust_Oleums Painters Touch Heirloom White {as suggested by my sister in law @Countrygirlhome.blogspot.com. And I L.O.V.E the color! It is a nice creamy white, not too stark, not too yellow. YUM!
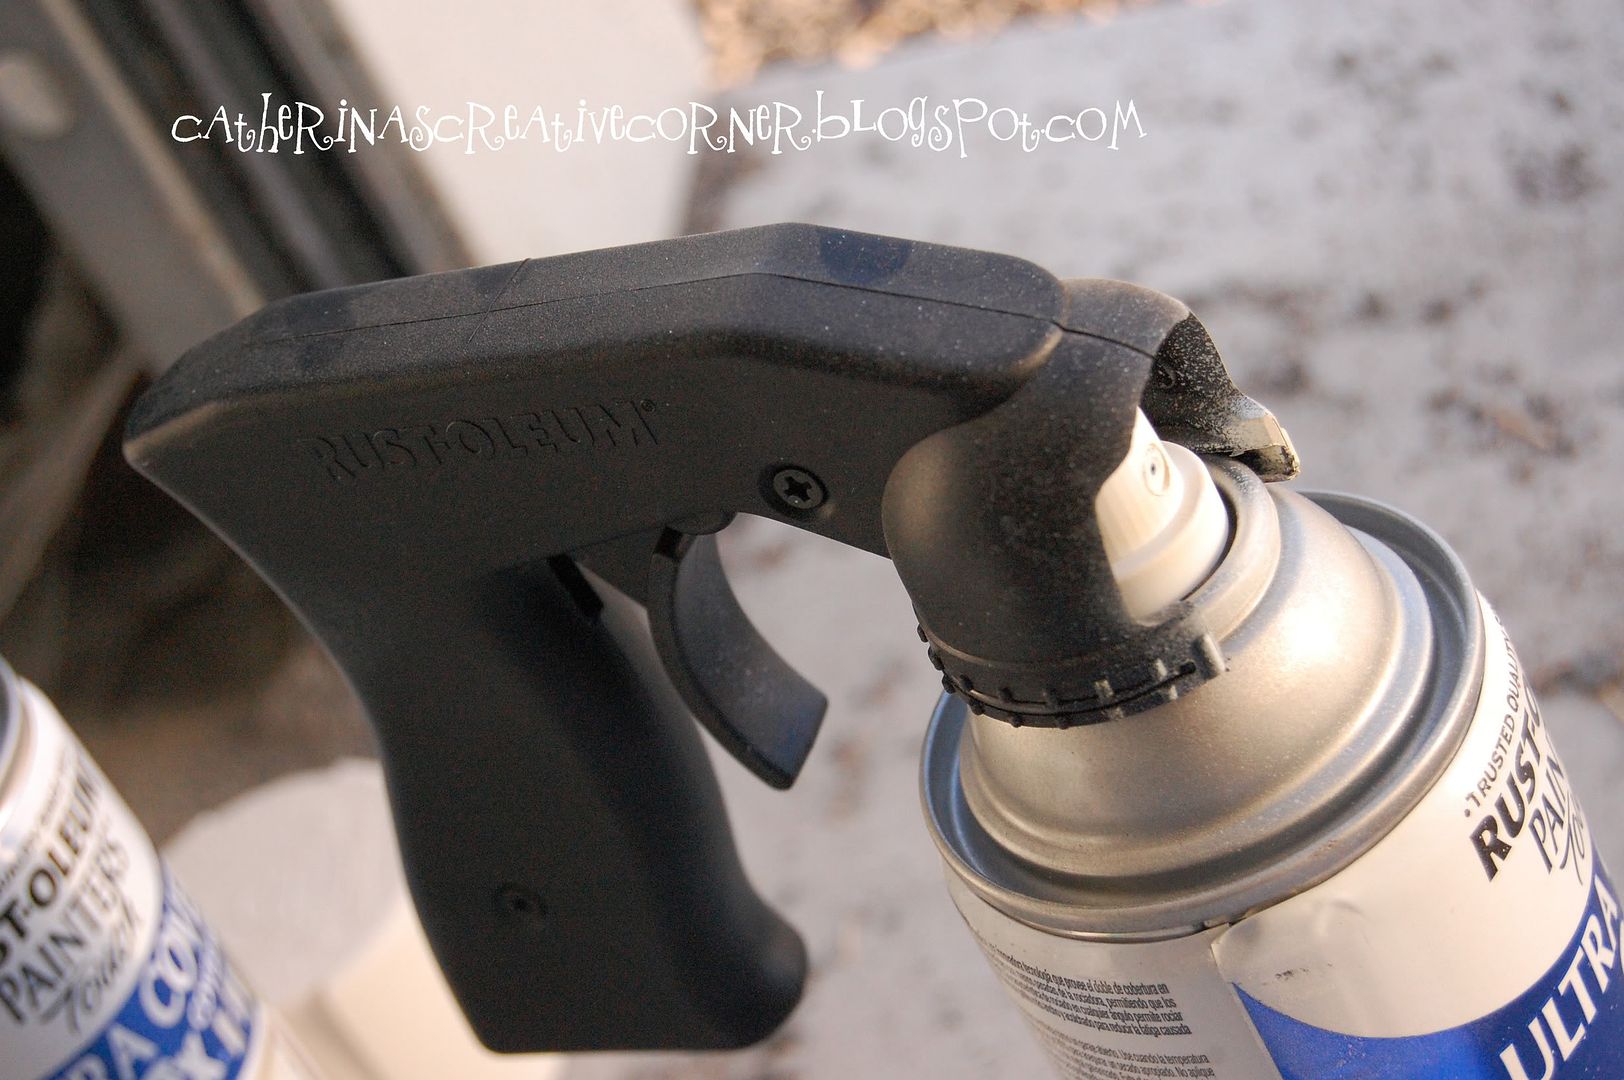
A special paint can attachment made it less painful for my fingers. thanks for the tip Linds!
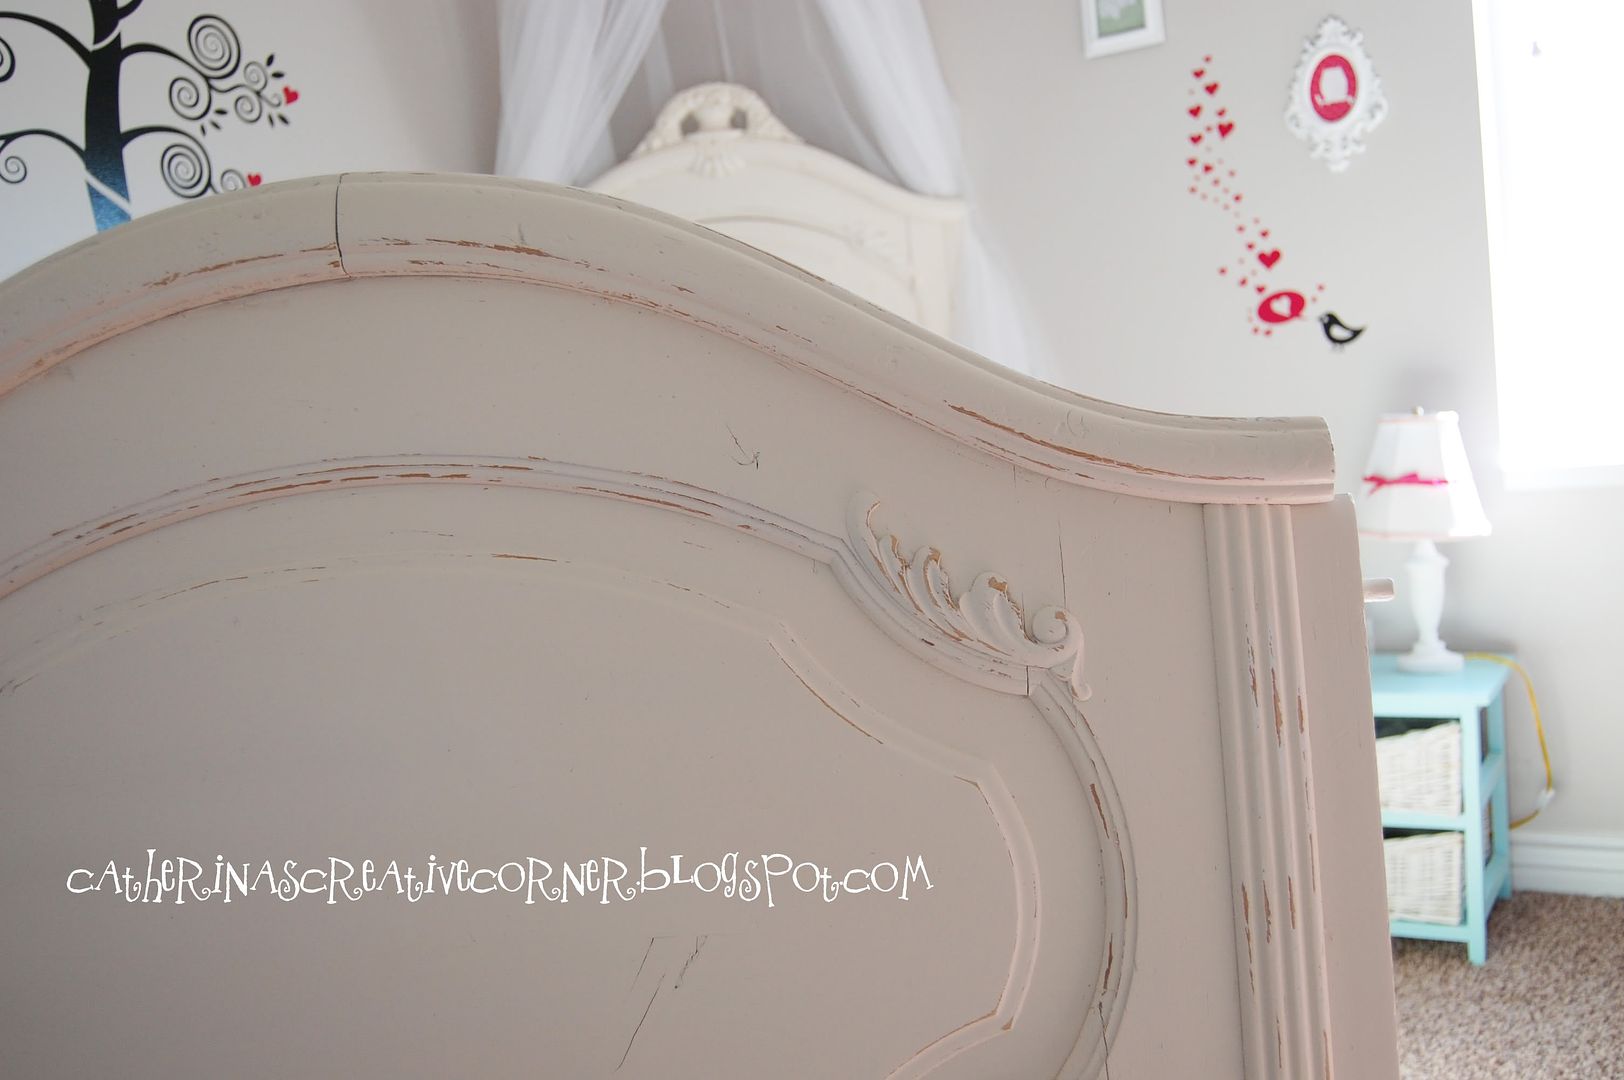
Here she is all done!

So pretty dont ya think?:-)
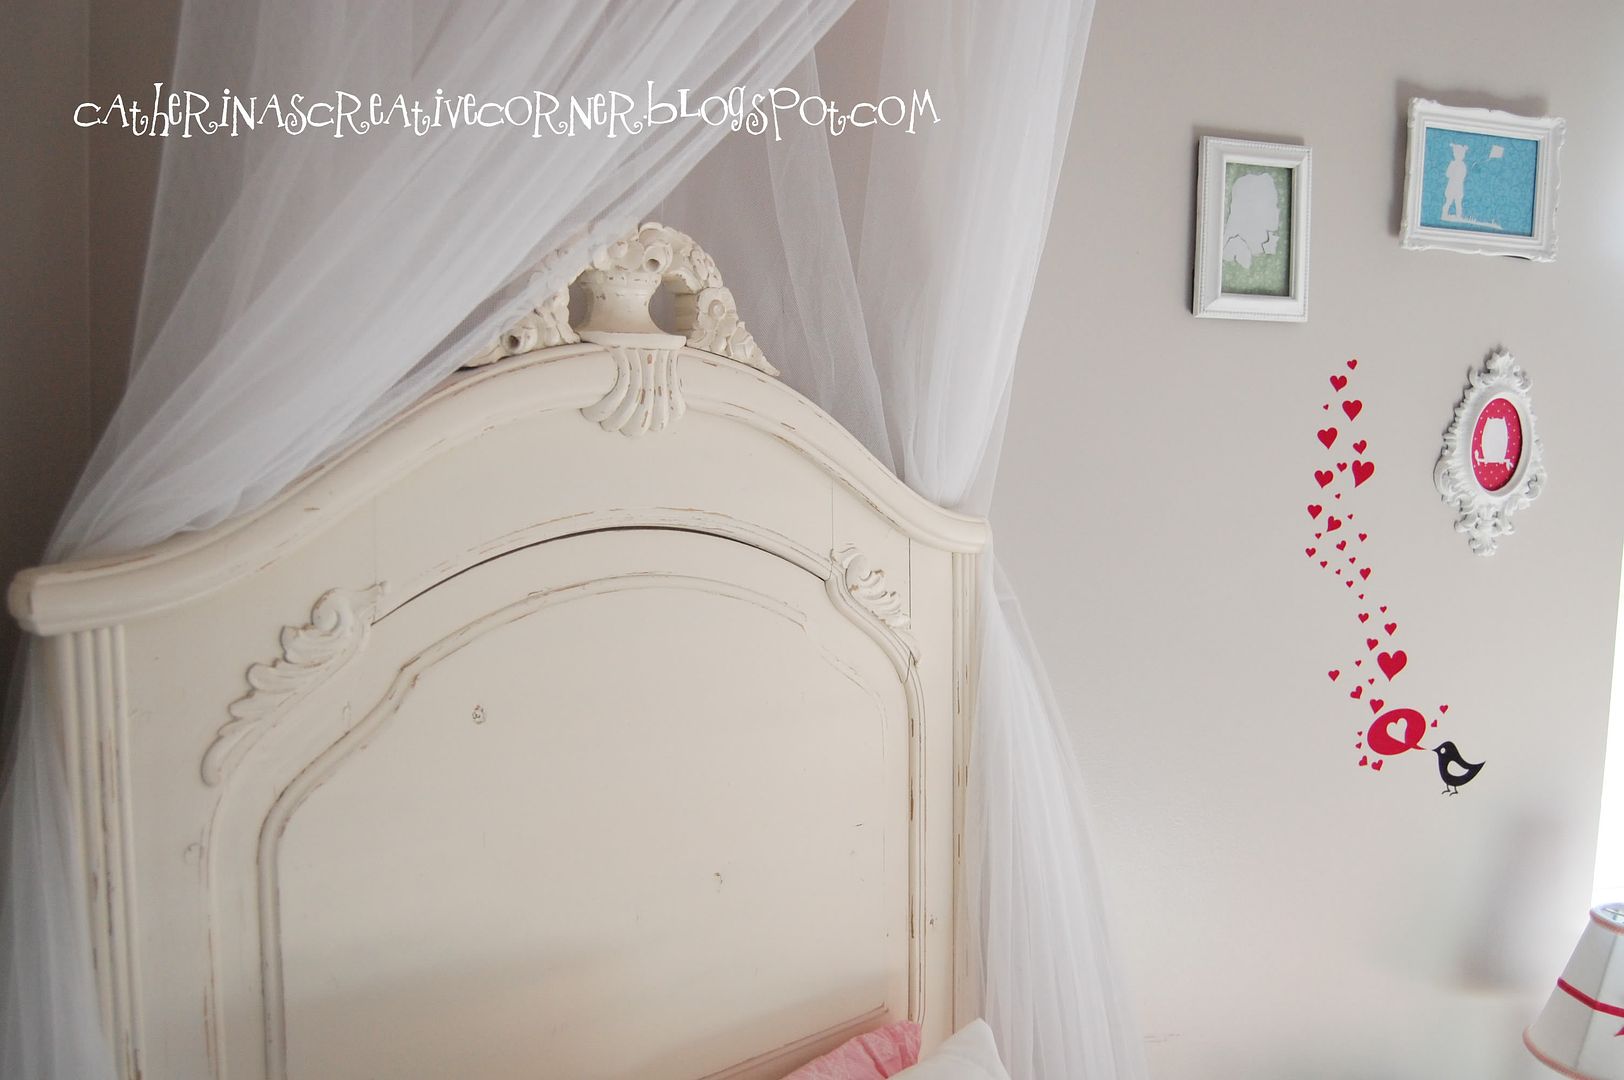
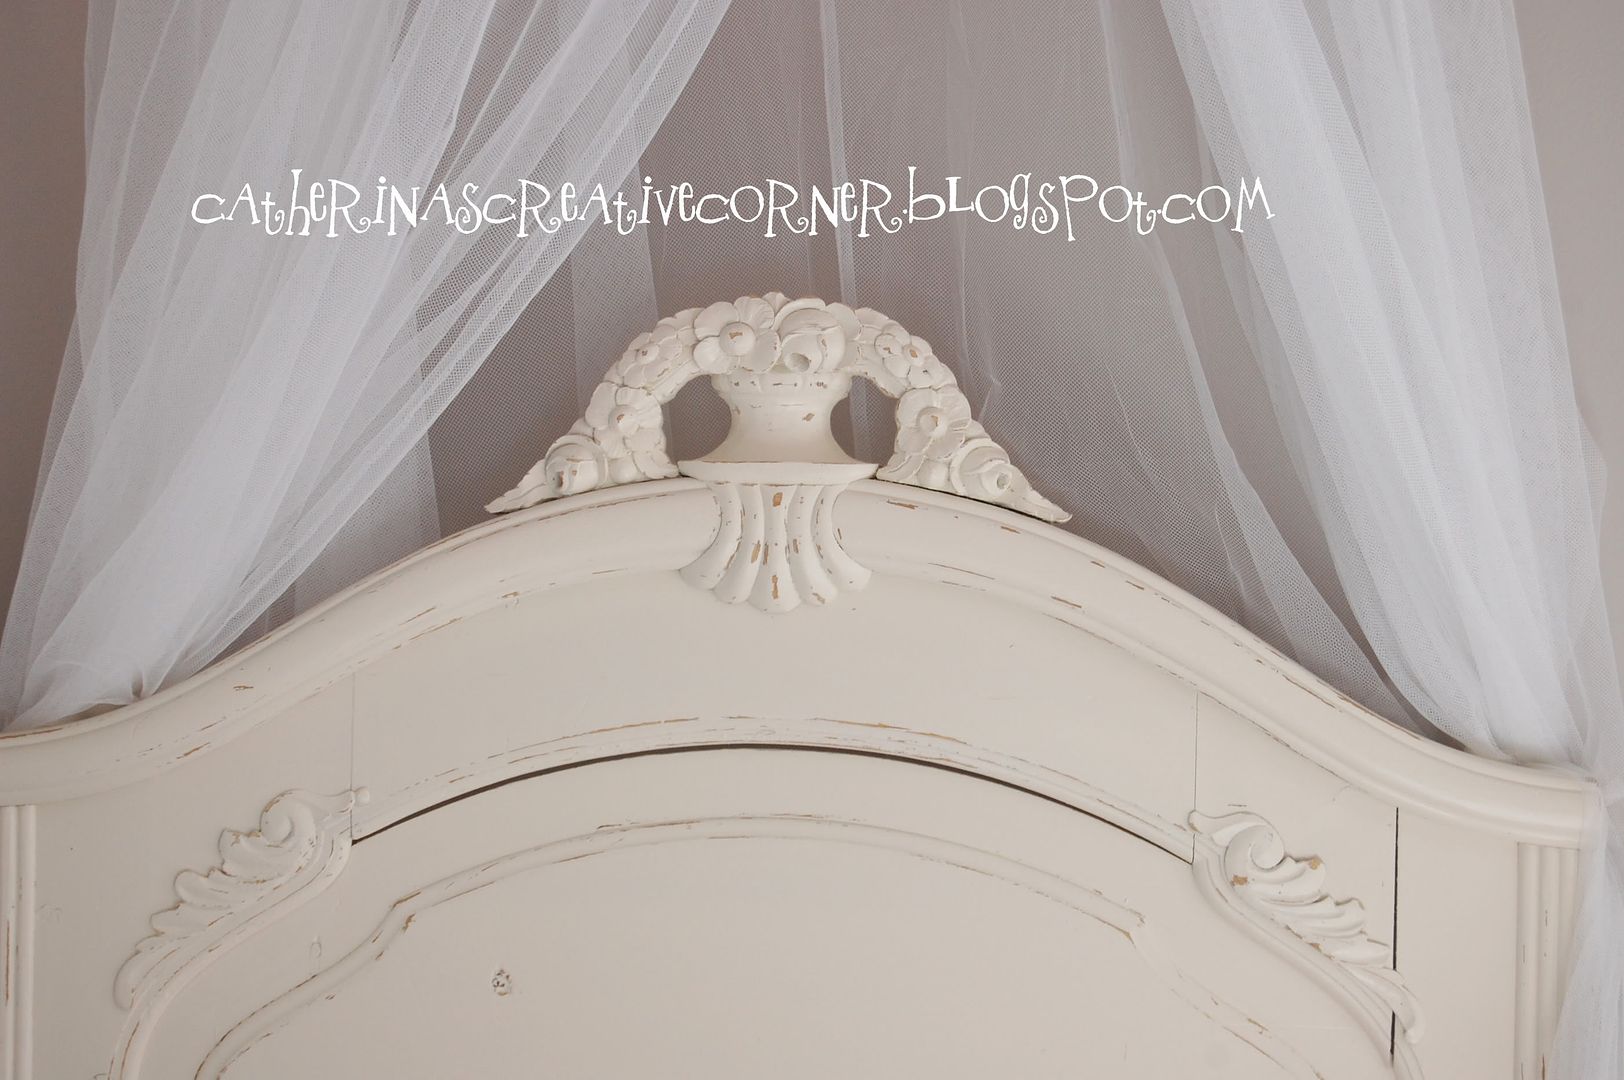
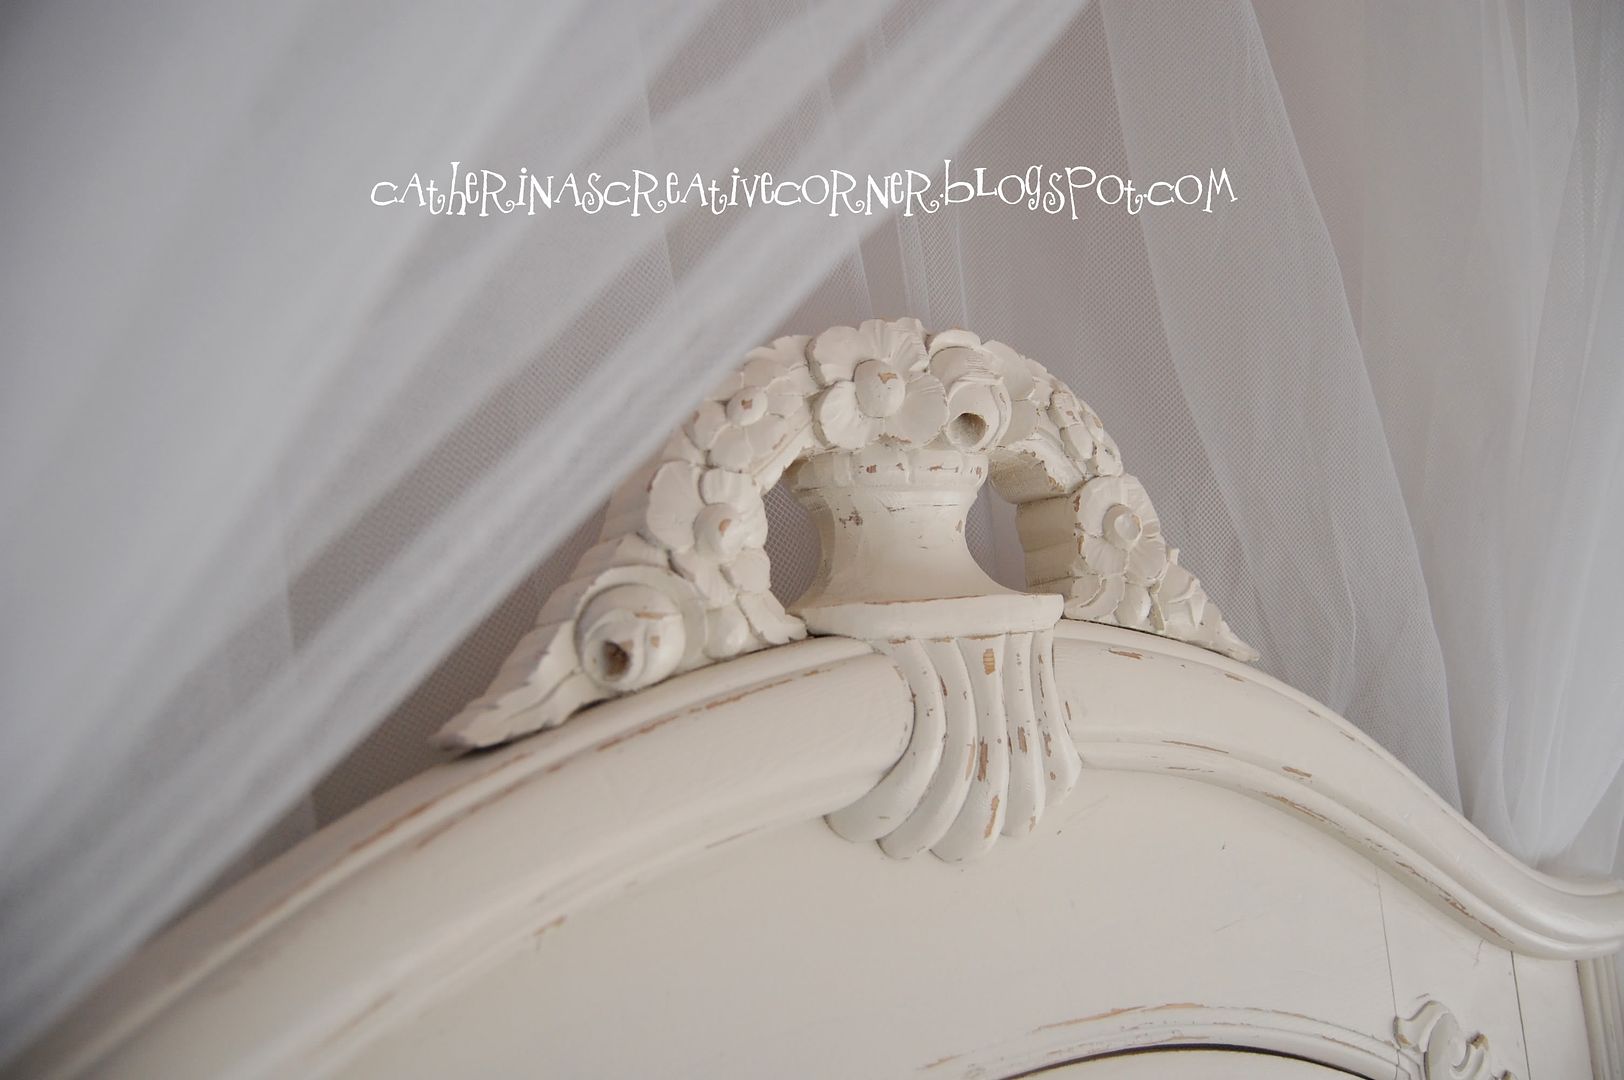
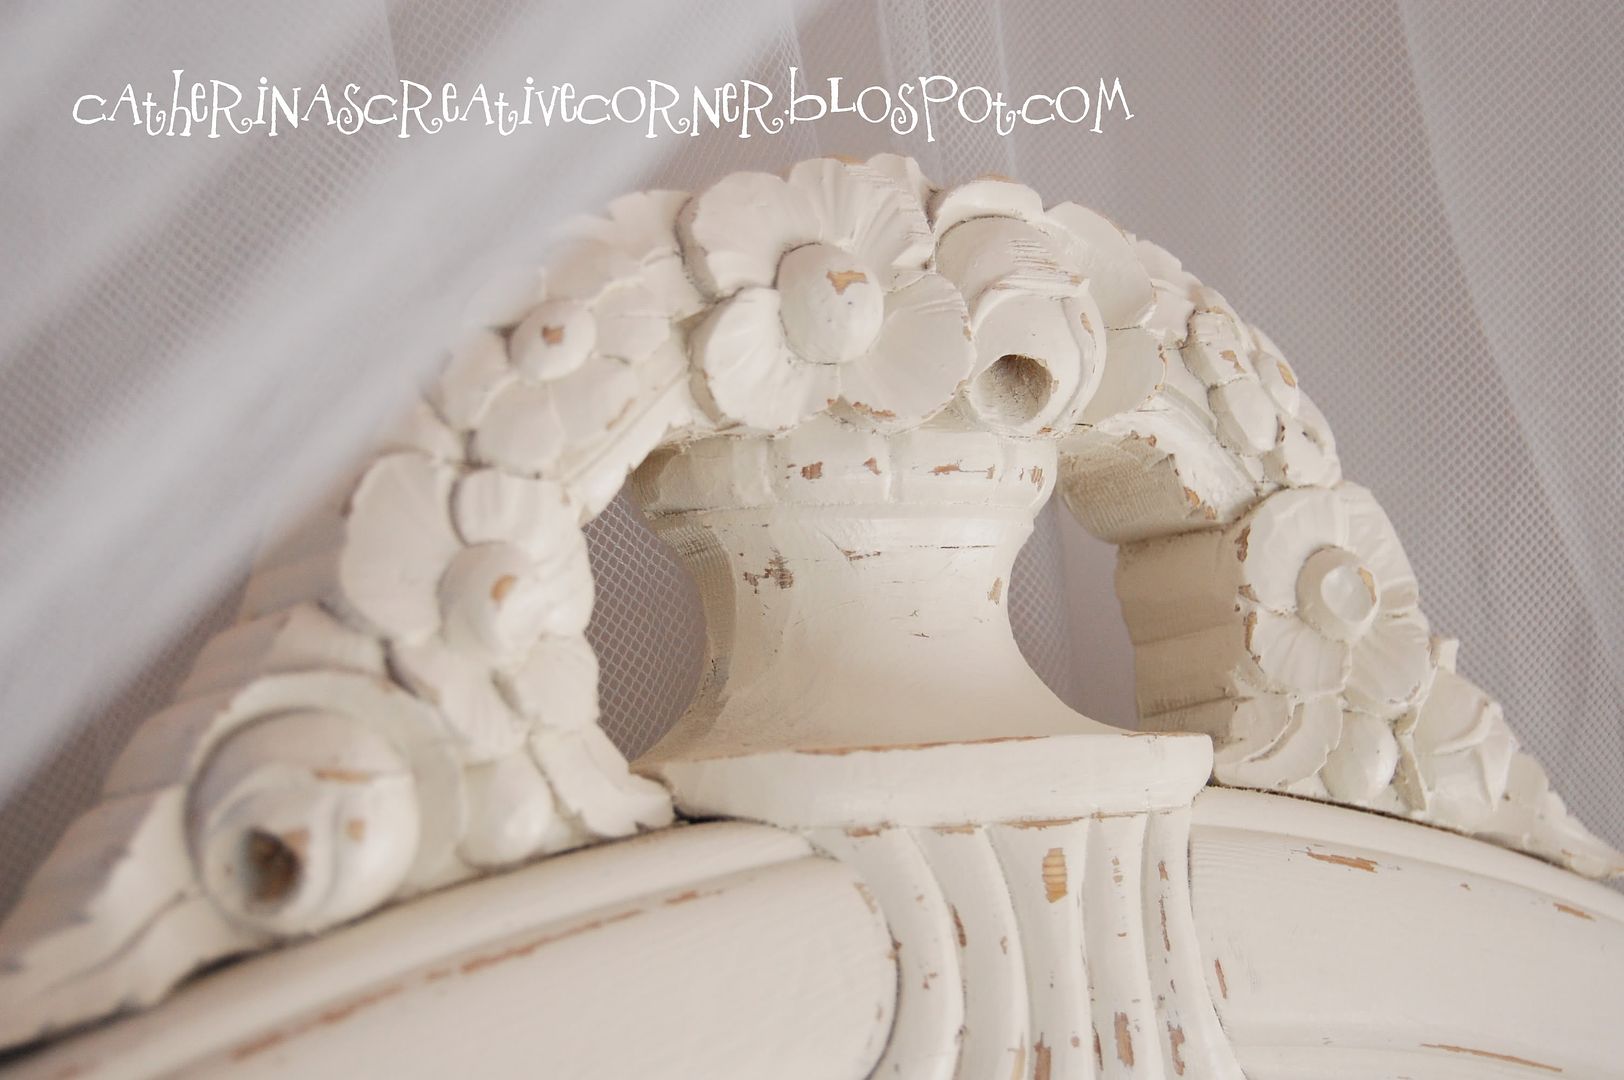
I just LOVE the hand carved flowers  at the top. 
Forgot to mention, I took a bit of sandpaper to her, to distress it....makes the detail stand out.
OK..
Eeeeeeee!!!!
 I simply LOOOoooOOOooOOOVE how it turned out!!
 Wish I was sleeping in THAT bed!
lol
GOODNESS girl! You are a spoiled child, you Red Headed Beauty,YOU! 
{Sigh}.... your Mama sure does love u!
NOW, once my boy grows out of HIS crib...what type of bed will HE get? 
Hmmmmmm.....

TO SEE OLD POSTS ON HOW I STARTED HER ROOM GO HERE:
&
&


Shared today with:
http://www.domestically-speaking.com/2011/08/86th-power-of-paint-party-sunbursting.html
Photobucket
Related Posts Plugin for WordPress, Blogger...