Pages

Showing posts with label Holiday Crafts. Show all posts

Saturday, November 2, 2013

Thanksgiving how I love thee...

I have been itching to put up my Thanksgiving decor...
Hurray for November!

Here is what I have been working on...

I made this pillow out of painters cloth that I bought from Walmart for like $9.99. I still have a lot left so I am excited for all the other projects I will be doing with the left overs.   I love this pillow so much that I think i will make many more in the future. SMILE.  I especially love how it has the look of linen for a fraction of the price! Now all I need to do to finish this little beauty is to sew a few buttons on it. I am on the lookout for a few cute ones, but havn`t found quite what I was thinking of yet...I will post an update when I find what I want:-)
You can find the tutorial on how to make this beauty here:


 Any suggestions what what buttons to use?
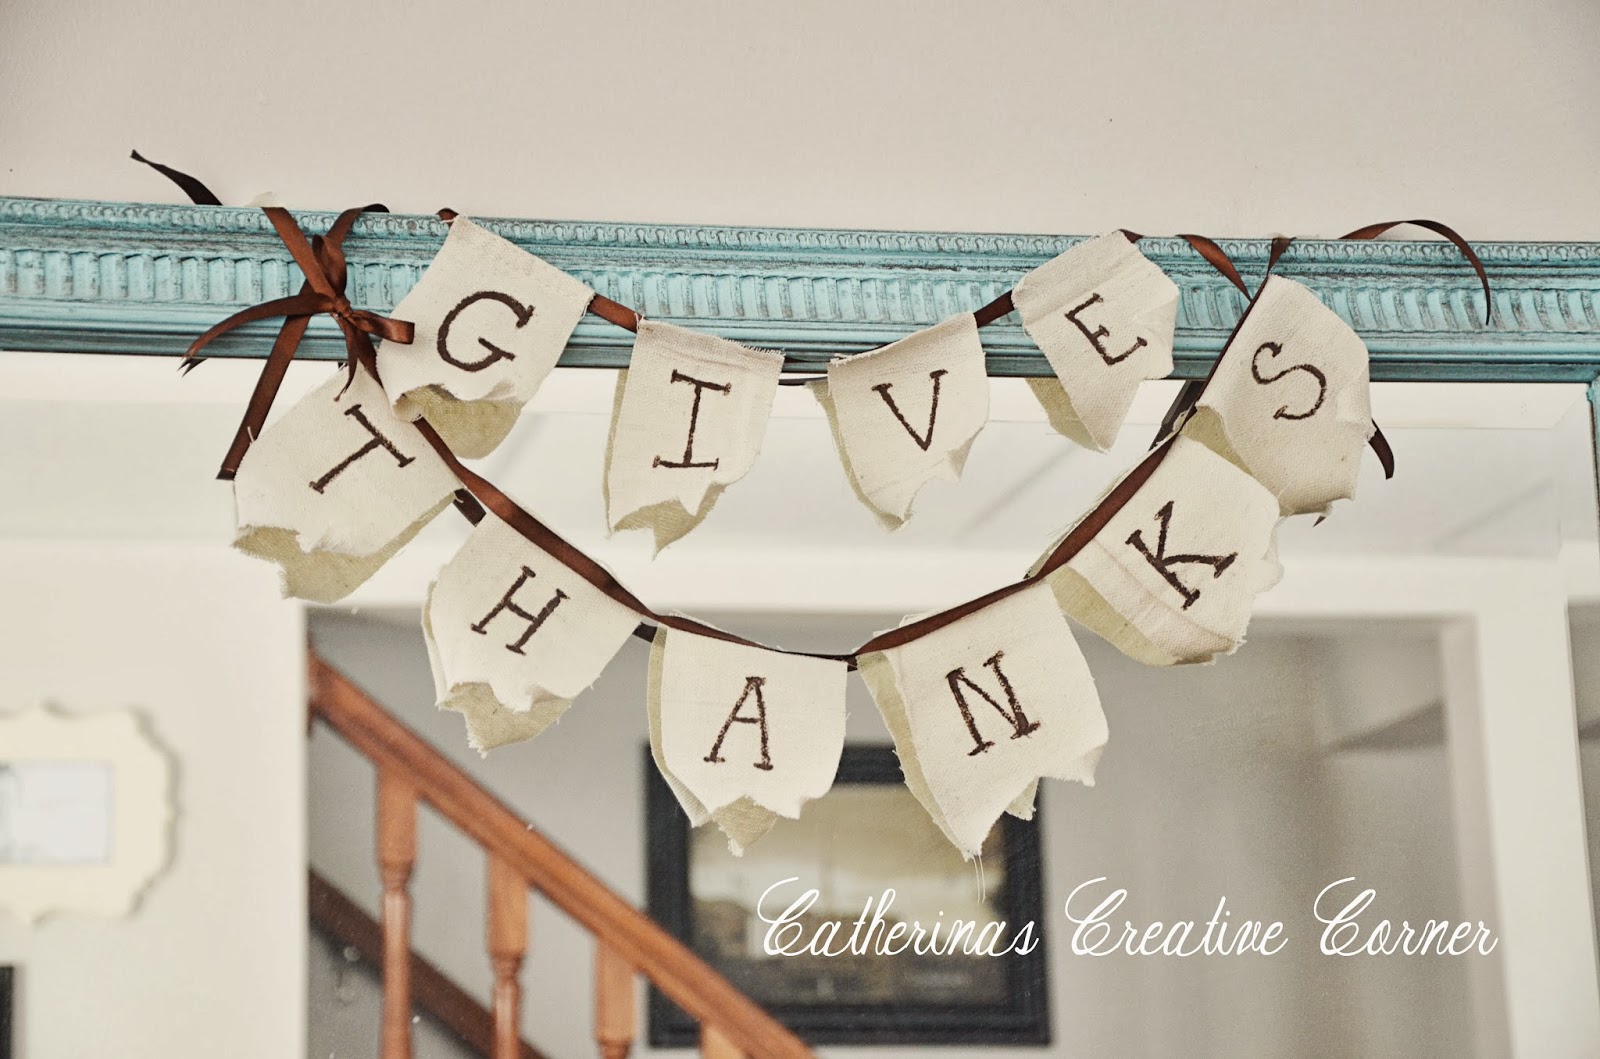
 My next project was a fun one too. I cut out pieces of painters cloth and than painted the ``Give Thanks`` letters on it. Used my glue gun to attach the pretty brown ribbon. The Tomkat Studio was my inspiration for this one. I want to add some more brown ribbon to it, but... I ran out....lol
 Now comes my favorite new Thanksgiving craft.  My inspiration for this came from when I fell in love with Dear Lillies Thanksgiving pillow. (Go buy her stuff, its AMAZING!)   I found some images online of  pilgrim silhouettes and basically made it the same way I did my kids DIY Silhouette art.  I used fine white fabric for the cream parts and glued them on. I love love LOVE it;-)  
 The best thing about these is that they remind me of my own two kids...
Next is my cute little ``give thanks`` sign. Yup...just drew it up with my sharpie pen.  

 These cute little gobblers (salt and pepper shakers) were found at Tai Pan Trading for only $3.97, just today in fact!  

Happy Thanksgiving to all!
I have SO much to be grateful for this year. 

hugs
Cat

Thursday, May 30, 2013

Hurray for SUMMER! 4th of July Decor....

Schools out, time to celebrate with some Red white and blue.  I love this wonderful County  , and I have always wanted to get festive for this time of year. So I came up with a   few new things....

Found this cool Thomas Jefferson plate at the thrift store for $2.00! I LOVE it! Than I got a few old frames, painted and distressed them.  I painted/stenciled the 1776 est. on this linen type fabric. 
.LOVE.

I made this wreath inspired by this one

. I LOVE hers SOOO much, so I made the base of hers, and than added my embellishments with push pins ,so when our Independence day festivities are over, I can change these and   than attach the starfish decor like hers. She did such a beautiful job! I love mine now, and cant wait to get to `updo` it again after the holiday. After a few years now of collecting ocean things I realize that I   i love all things Nautical :-) 


I googled and printed out a copy of the Declaration of Independence. Placed it in this frame that I also repainted. I have a love for Seashells...have been collecting them since I was a kid in Denmark. I love getting them all out for the summer months....Had to add some to this. I even bought me some beautiful ones while on our trip to Hawaii. I will have to post about them later.


An old piece of driftwood I painted some blue and white stripes on

More fabric painting.   

Heres my little corner


And to end it, I painted a starfish on my old burlap pillow. Remember the old & sign./? This is just the other side.

Hurray for Summer!!!!

Friday, January 4, 2013

Im back! {and a holiday Peppermint Plate }

So I am looking at my last blog post...dated June of 2012....ummm...yeah....It has been a while!
TOO long in fact! But I have GOOD reason...

This is my reason....

SHE....
our
Emilie Ana
girl....


Can you see how I cant possibly get away from the Cuteness of this little thing to get my Craft on?! Lol. Things have been crazy busy in our house since the day she was born. She came on the day that my oldest started Kindergarten! Yes indeed, I let my husband take her to school while I was in labor. He made it back quickly enough to be there for the birth. And to add to the stress my in-laws left to Africa that week to be away for 18 months serving an LDS Mission. They were in the Mission Training Center just 2 hours away preparing to leave 3 days after E was born. And they were able to drive home to be there for the birth too, and quickly get back to their MTC obligations. We were so blessed to have them meet our sweet baby before they left!
Well, she is now 4 months old, I am feeling much better, we are into a routine AND the holidays are over, so now I can SNEAK away for just a few...and BLOG. I haven't been all idle though in these past 6 months or so. I just haven't had time to document everything. So I might have some "past" posts to reveal in the next few posts.

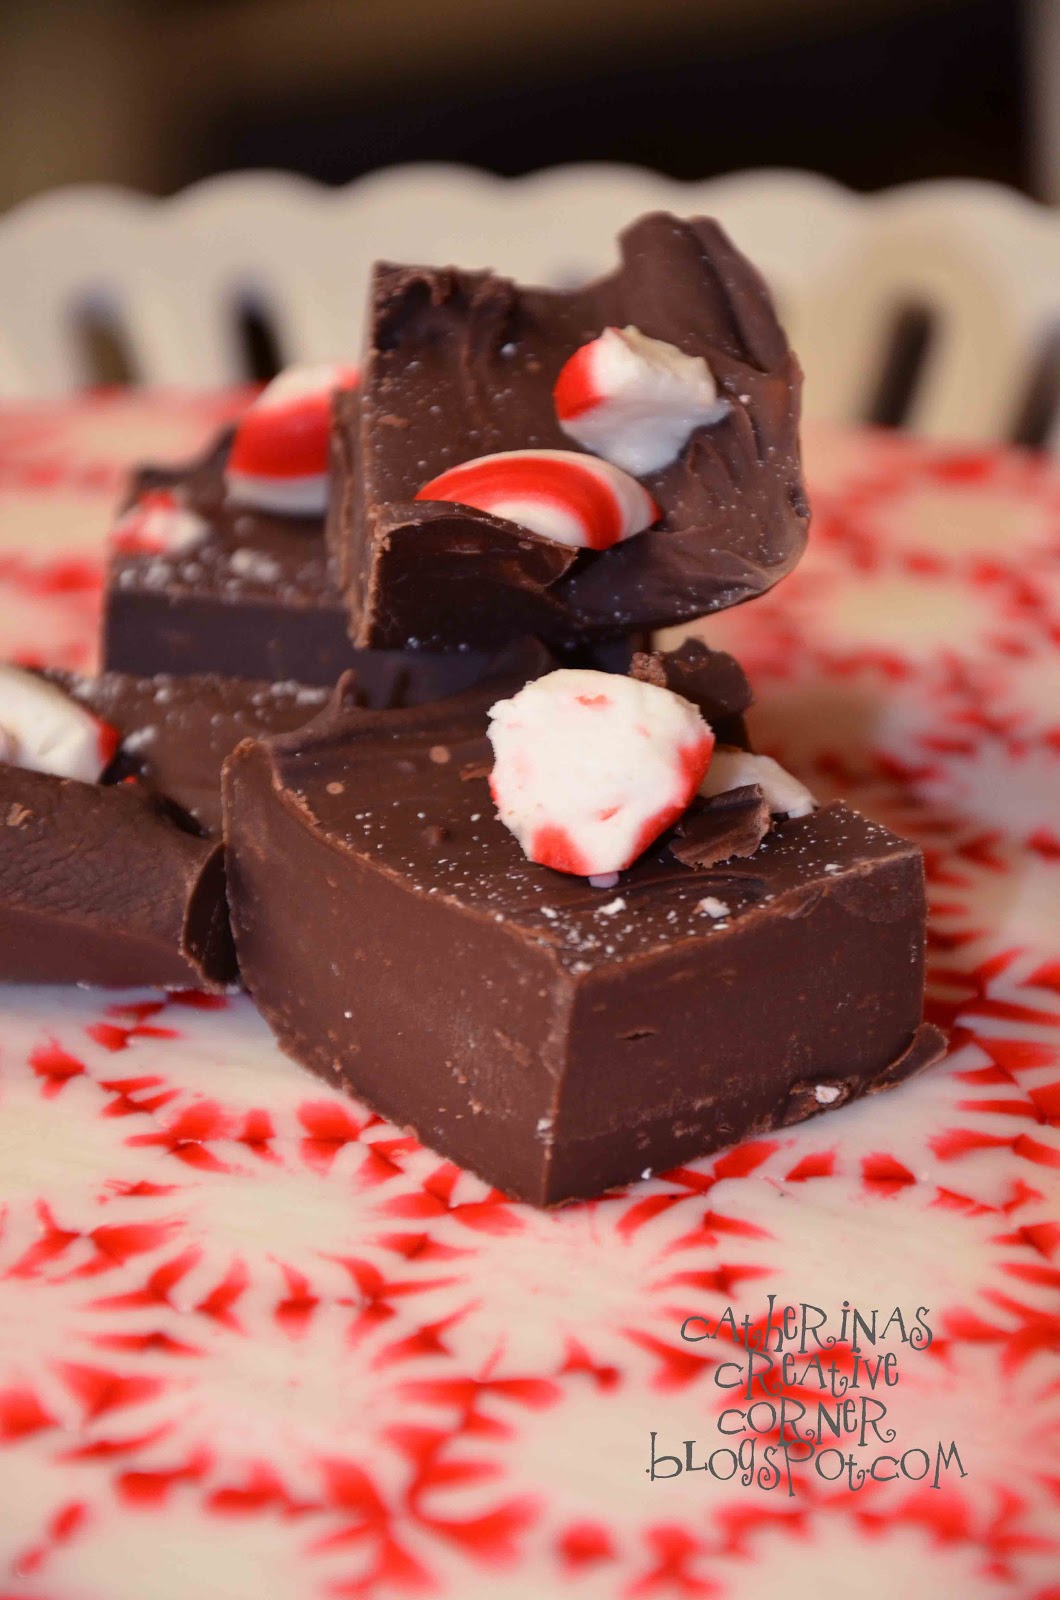
Here is one of them, this SUPER cool Peppermint plate that I saw on a cake display on line. I found the instructions here... on this blog Dukes & Dutchesses.  Whipped up a batch of Peppermint fudge..and voila! Its seriously so cool, and my kids LOVED to help me unwrap and place all the candies in the dish before placing it in the oven.  We kept it out all December. It was so easy...This is going to be a holiday tradition! 


So here goes to a New Year of blogging....thanks for sticking around!!

oxoxox
Cat

Tuesday, April 5, 2011

Easter Decor & my {Jute Eggs}

Easter time! I love this time of year. Do You? Because nr. 1 Spring {usually}! Nr. 2 my birthday is in this month {sometimes it can be a bad thing too}lol. Nr 3. Easter hello! lol. I have never had any real Easter Decorations so now is the time to get some. I really want to focus on the Christian aspect of Easter, so I tried to incorporate elements from the Easter Story into my decor. Here is what I came up with;
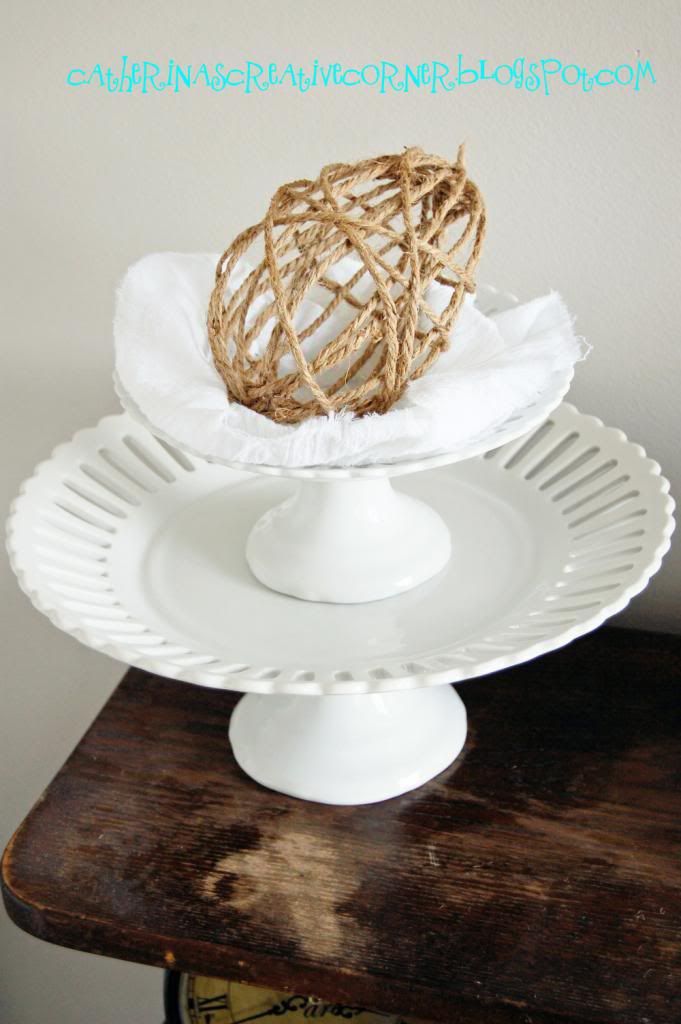
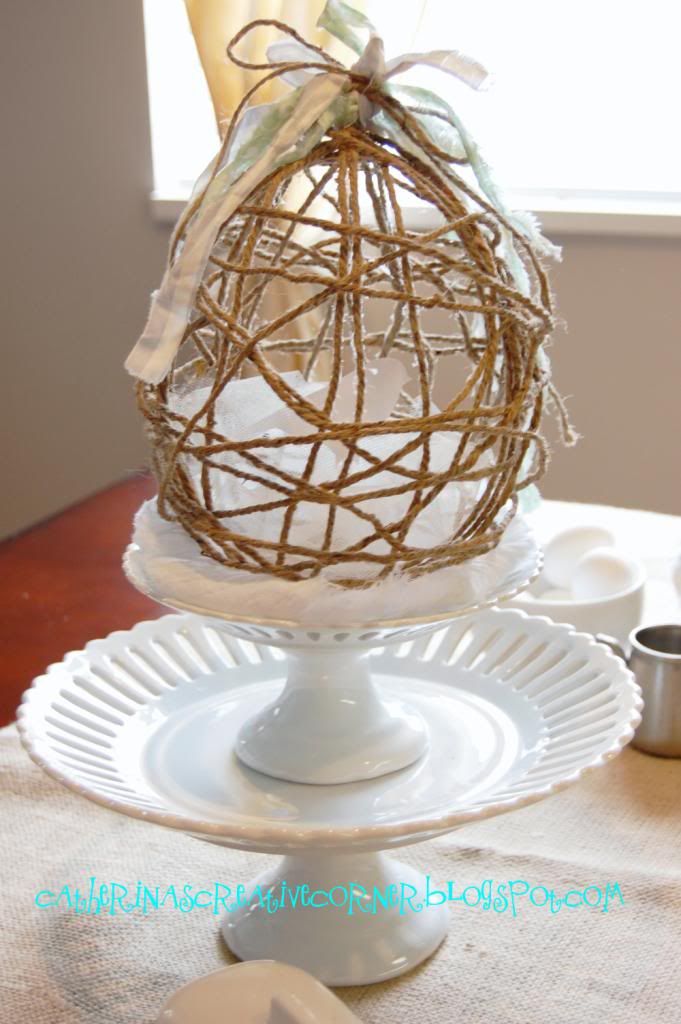
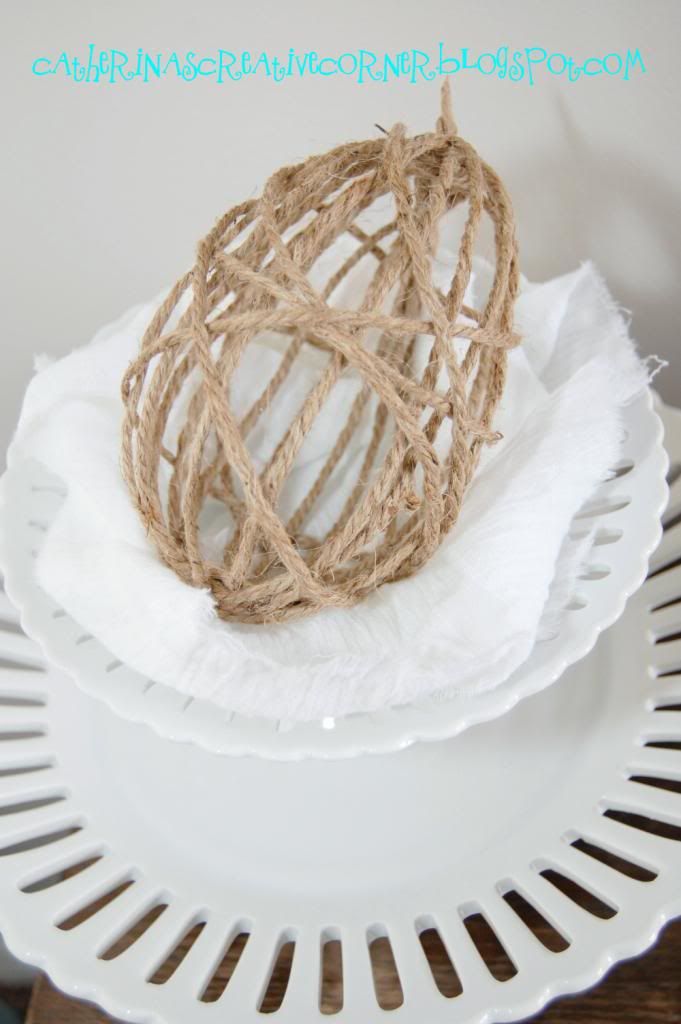
I am just LOVING my easter Jute Eggs! I have been thinking about making these for some time, and I was so excited that they turned out just how I had envisioned them. For a tutorial on how to make your own click here. I placed this Egg on a bed of white gauzelike material. It reminds me of what HE would have left behind {those 3 days after} in the tomb.
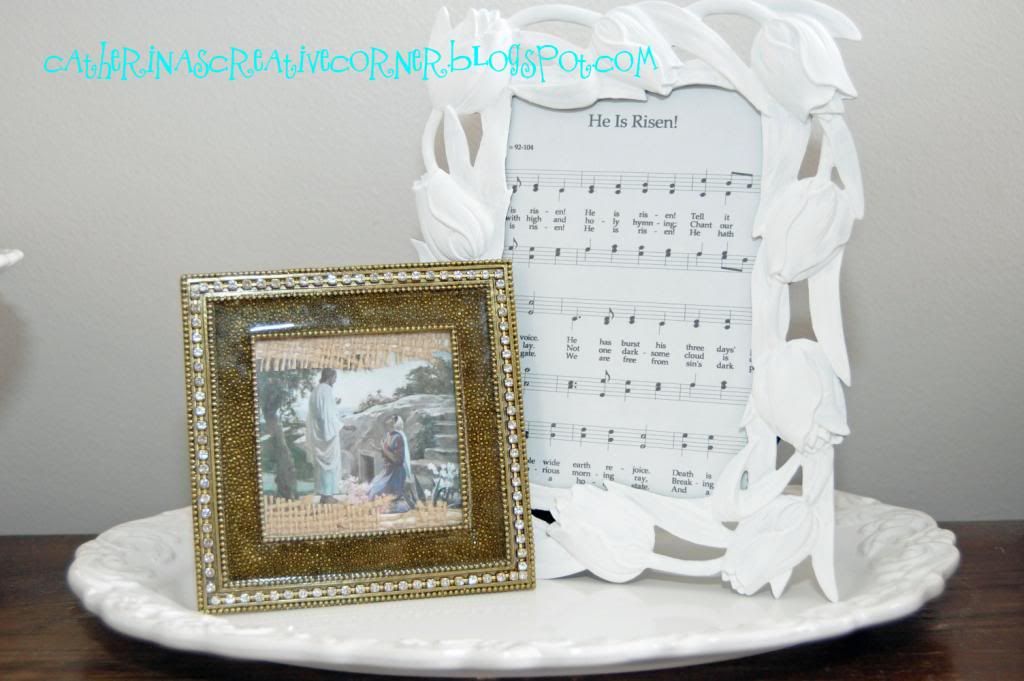
I framed this picture of Jesus Christ and added some burlap to the inside. I have had this tulip frame forever, it is perfect painted white. I than framed my favorite Easter Hymn "He is Risen!" to remind my family what magnificent event took place during that special time so very long ago. 
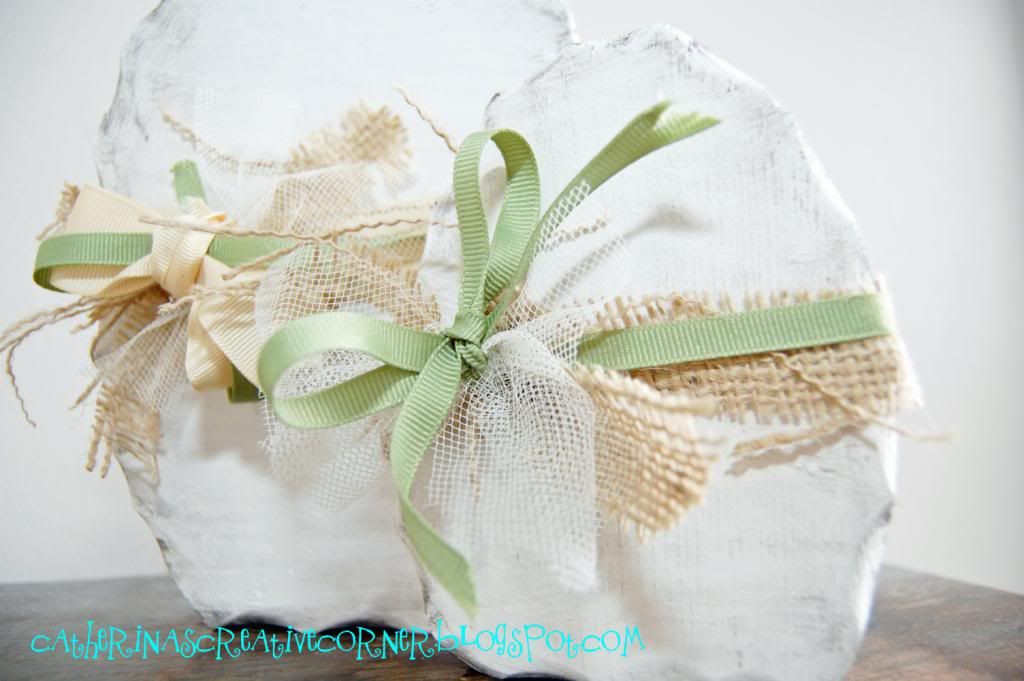
We made these Easter Eggs at my sweet motherinlaws house for a little activity for us girls to do. {Our hubbies were all attending a Church Meeting together that night}. She gave them to us with a dark stain, which was pretty, I tied a few bows around them and took them home. All the other gals where painting them, mostly white or cream {so cute}! I really didnt have the time {baby boy into everything} to paint them pretty that evening. So the next day, I painted them white, threw on some dark stain and rearranged with a few extra ribbons, burlap and toile. Done. Love it! 
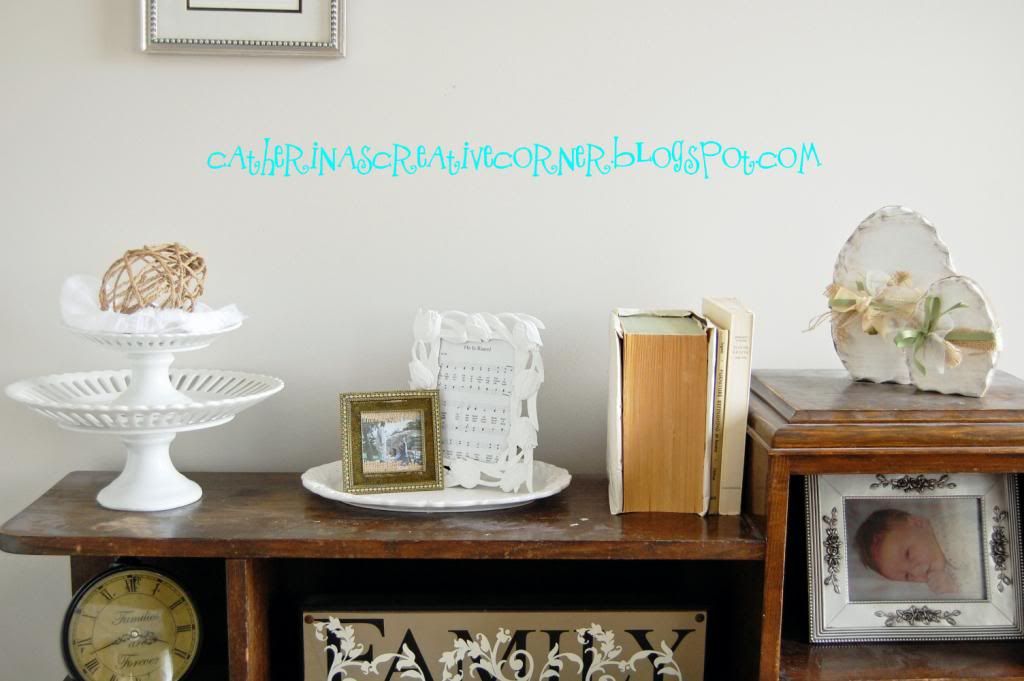
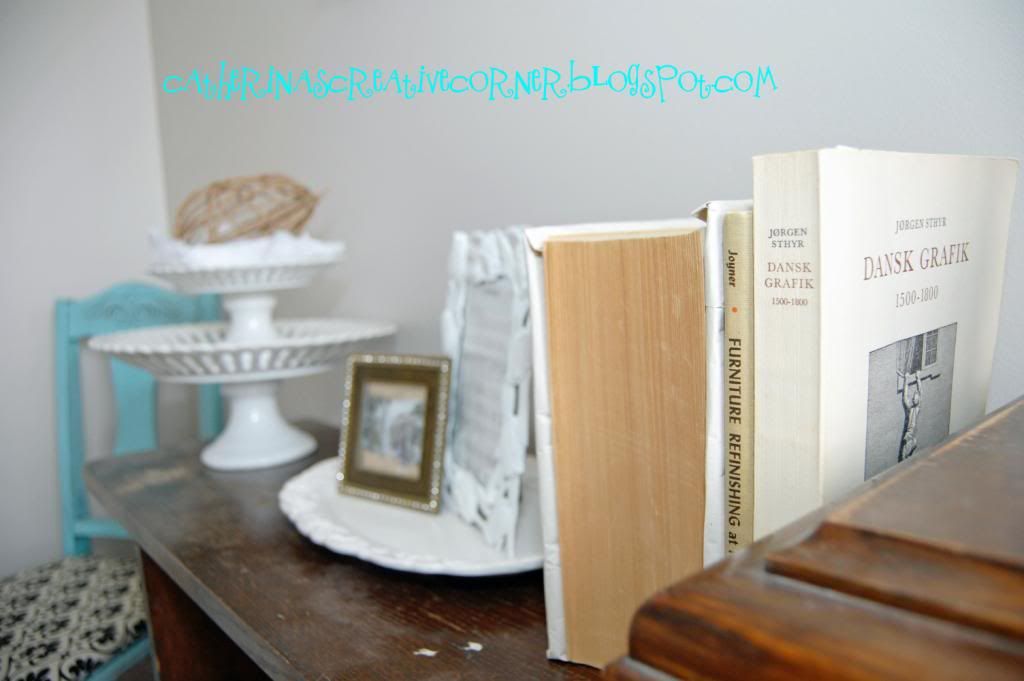
My cute little antique entryway table. {brought it all the way from Denmark 14 yrs ago}. Yes, I know what u r thingking....AMAZING... I do actually have an actual semi entryway! lol. Ahh the joys of living in an apartment! Oh ps, do you like the books? For a unified colorscheme I have found turning them around or wrapping just simple crinkled cream paper {you know, the kind they wrap your dishes in at the store} on the outside of them. Tutorial will follow soon.
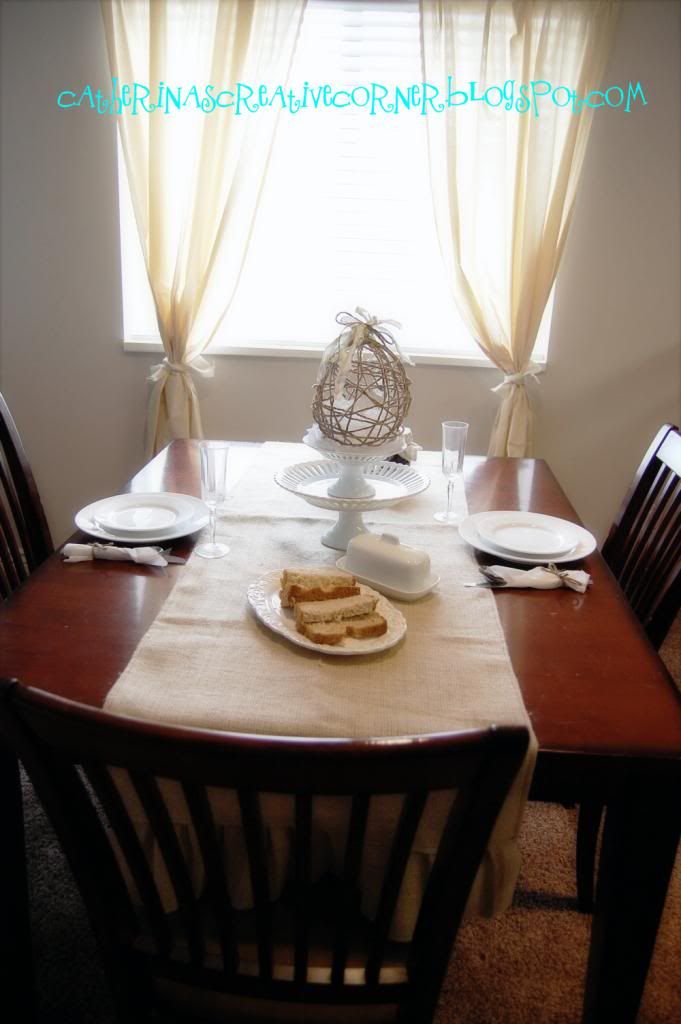
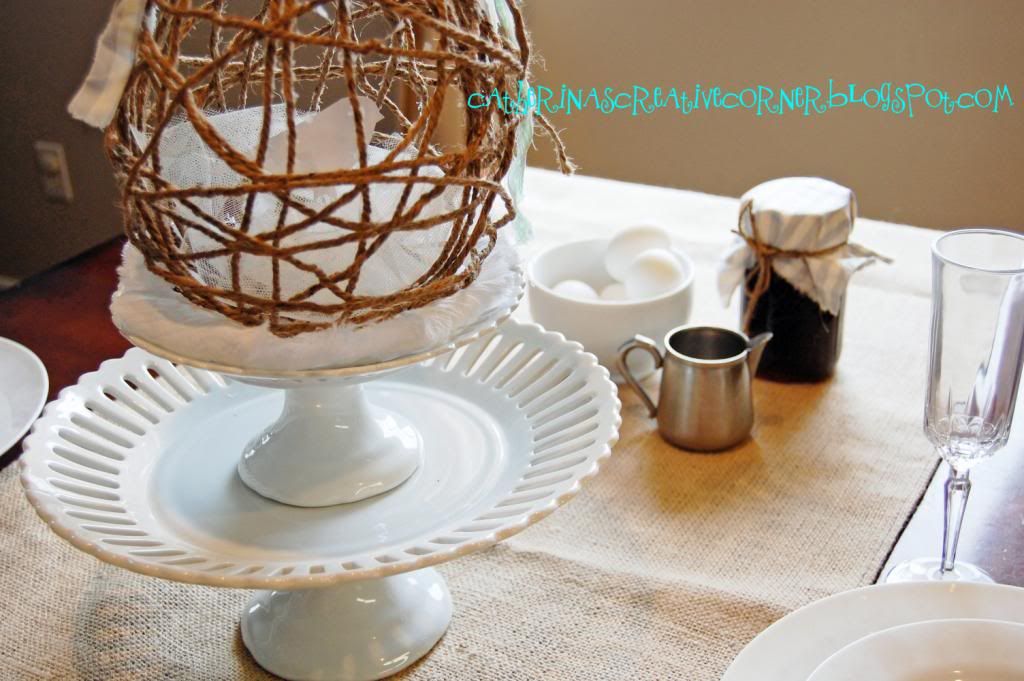
Now...my favorite; a simple Easter Brunch centerpiece;
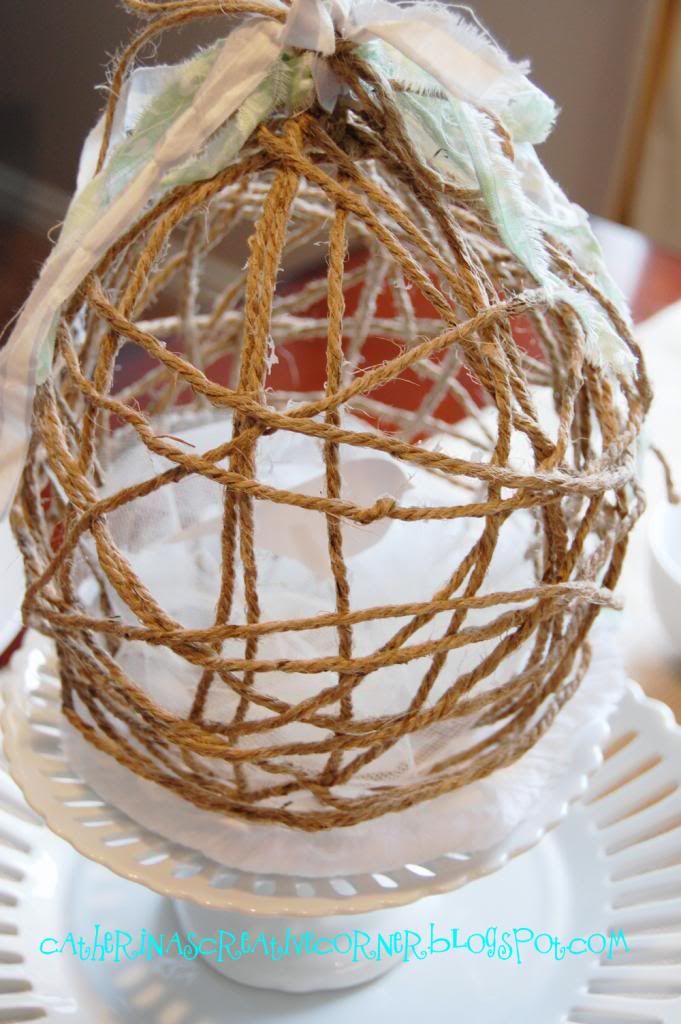
Jute Egg nest.

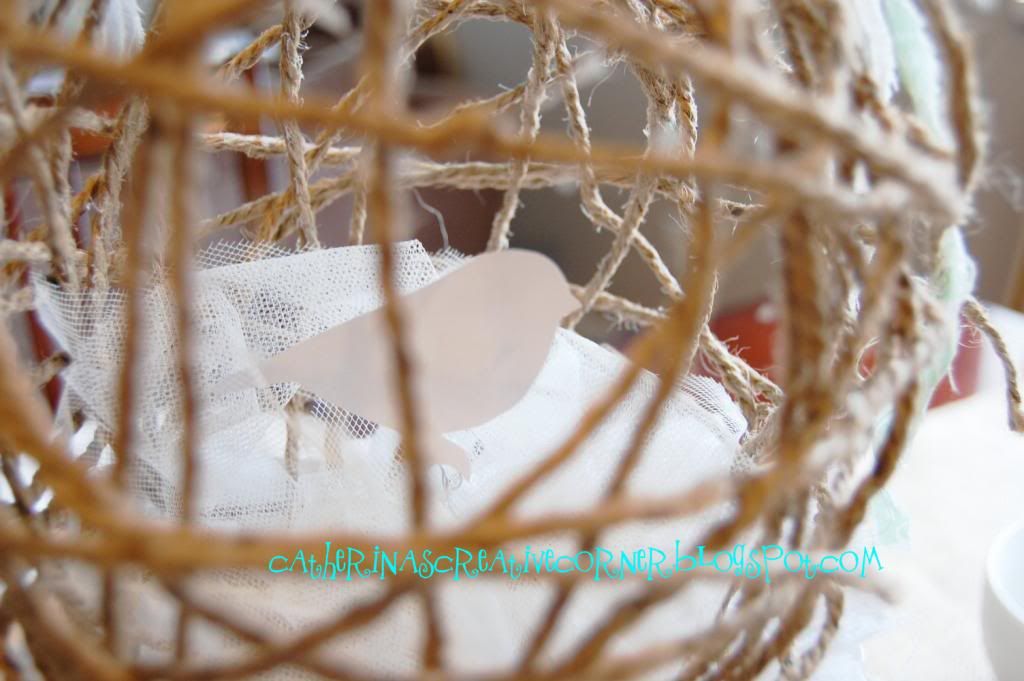
Topped with her green, white and light blue ribbons and her little bird inside! 
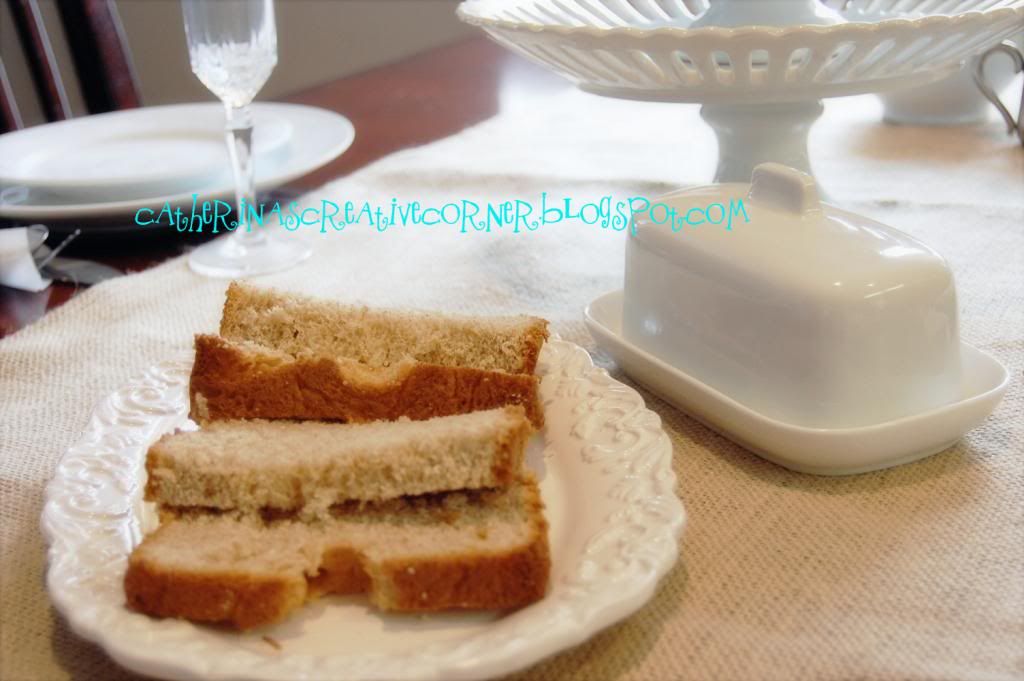
Yummy homemade Wheat Bread, peach jam, butter and eggs. 
Spring is a time for renewal, rebirth, light, and new hope. {I love it}. HAPPY EASTER!
~Cat~

Jute {Easter} Eggs Tutorial

 So here is the recipe so you can make  your own. Feel free to make as many as you want! I only ask (since this is my original idea) that if you want to make your own and post it on the web that you link it back to my blog. AND SEND ME YOUR PICTURES! I want to see what you all can come up with ;-) 
Thanks and have fun creating!
Oh and dont forget to become a Follower:-)
Leave me a comment if you have any questions:-)

You will need:
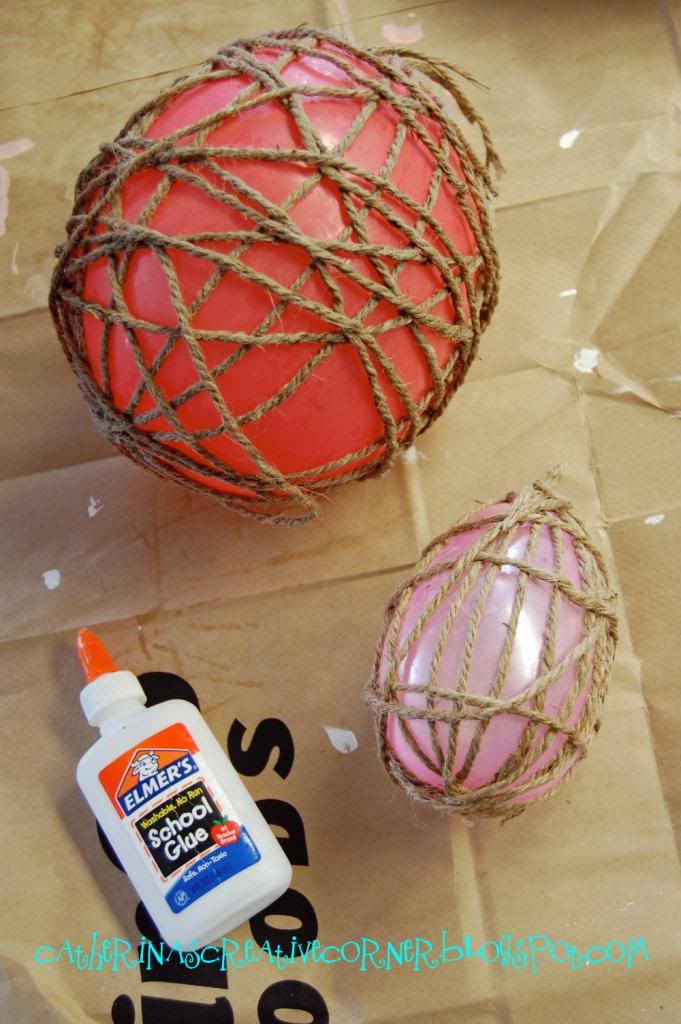
  • Regular size ballons or water ballons {blown up to desired size of egg}
  • Jute
  • Glue {one that dries clear}
  • water
  • scissors

  1. First blow up your balloons. YOu can either use regular birthday balloons, or water balloons. Just depends on what size you want. I find that water balloons make it more "egg" shaped. Birthday balloons can get to be too "round" if you blow it up too big.
  2. Make a mixture of 1/2 part Water to 1/2 part Glue in a bowl. Mix.
  3. Cut a loooooong piece of Jute {dont worry if you run out during wrapping the ballon, you can just start with a new piece since everything is "glued" together.} 
  4. Drench your Jute trying not to tangle it up too much....dont get scared because it is VERY messy!
  5. Tie your drenched jute end to the top of the ballon and start wrapping it. Begin from the top to the bottom over and over than go cross ways. Kind of play with it, it really is hard to mess it up. Just make sure that it is tight. 
  6. When all done place it on a surface like an old paper bag. Let dry overnight. For the smaller egg {water ballon} it is possible to dry it with a blow dryer, mostly but you must still leave it overnight. The string needs to be completely dry and "crispy" before the next step.
  7. When it is dry wrap your scissors and....POP it! Its like magic when it does, because suddenly you will have a beautiful egg! :-)
Decorate it anyway you want, for the bird nest one the jute was still a bit pliable so I could work my hand into it. I placed toile, ripped fabric for ribbon and a bird silhouette inside.
 For a bird just google bird silhouette images and you can pick what you like. Print it out, cut out with scissors and  trace it onto card stock. Cut THAT out and stick a piece of wire to it so you can stick it right down thru the nest of the egg. 

Simple
Spruced up with a bit of green, blue & white ribbon/fabric strips.


Sunday, November 28, 2010

Merry Advent!

Its the first day of ADVENT today:-) Hooray!
YES, I do know it is a little early, but I have started the tradition of putting up all of our Christmas Decor the day after Thanksgiving. This all stemmed from my American In-laws, and I was a totally strict on when we should put our tree and things up; the first week or two of December.BUT...THAN I saw how cute and excited they all got, and well, I joined them (because of jealousy, I was like "Hey I want to do that too, they are so Happy"! And now I am Happy too!! :-) Lol)
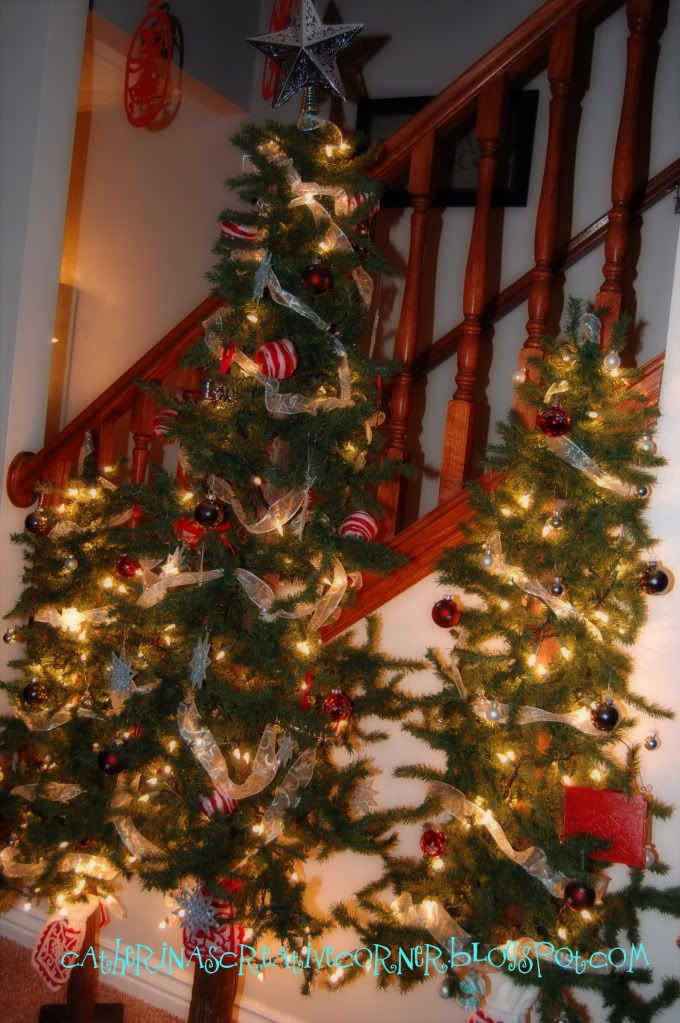
Here is what I have been busy with this weekend. We have a little apartment that we live in. Well it is more like a condo. We want to build our Dream Home someday, but until than this is home. Our living room is SUPER, I mean SUPER narrow. Not even room for a coffee table so a big old Christmas tree just doesn't fit. (Oh Coffee table how I long for you to be part of my life someday!) We use instead these 3 small skinny trees.  They work and are super cute, plus when we do move I can use them as my front porch lighted trees:-) 


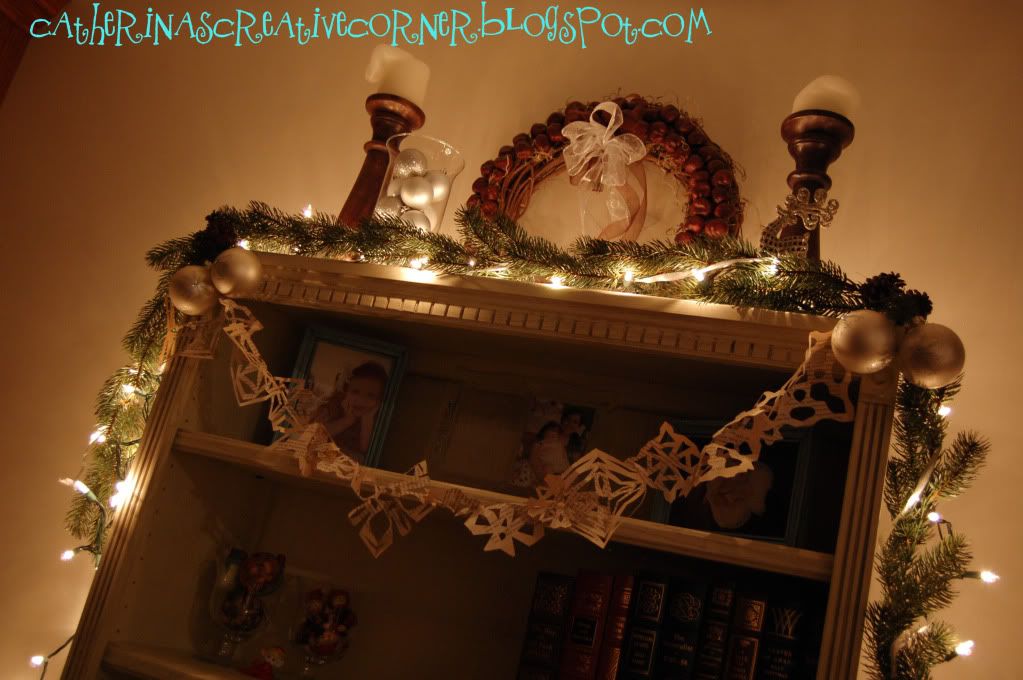
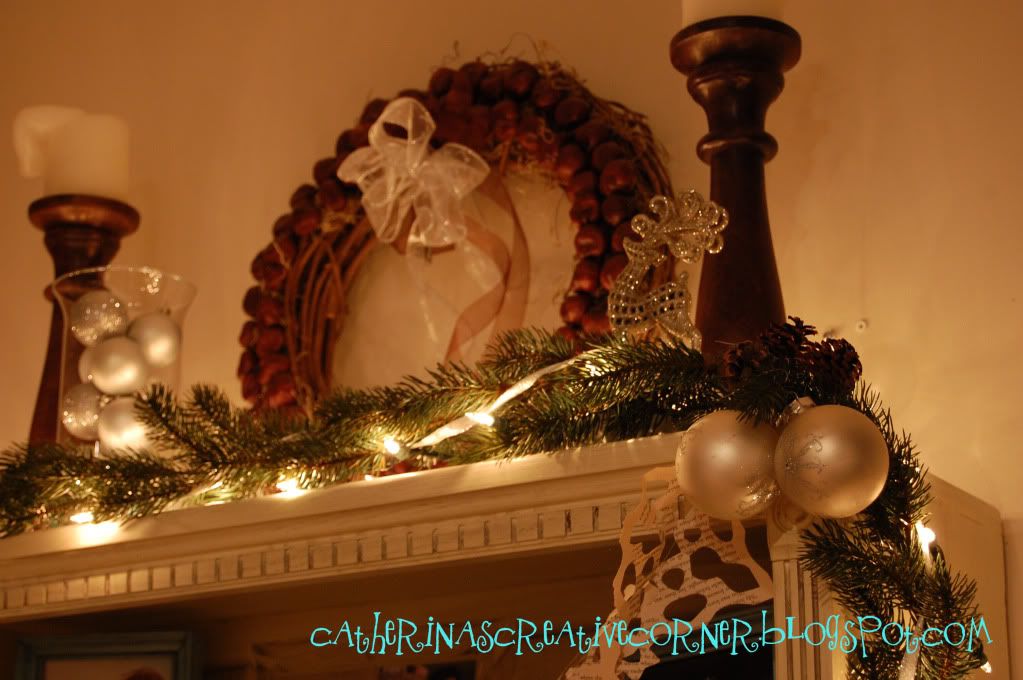
Next is my makeshift Mantle. No I dont have a fireplace, BUT I I have used this cute bookcase that I redid this summer instead as my focal point. And OHHH HOW I LOVE IT!  I really cant wait to have a real mantle with this antique cream color. Divine! :-) 
Who needs a mantle ANYWAYS, hehehe! No really, I want one, but right now this will do:-) A girl can dream right? :-)
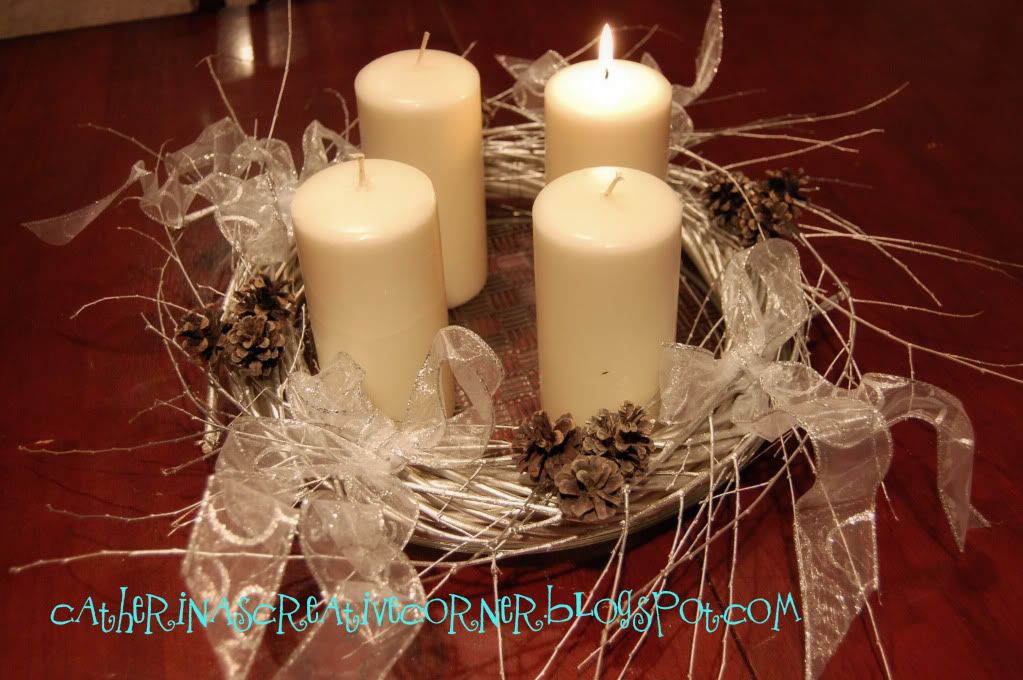
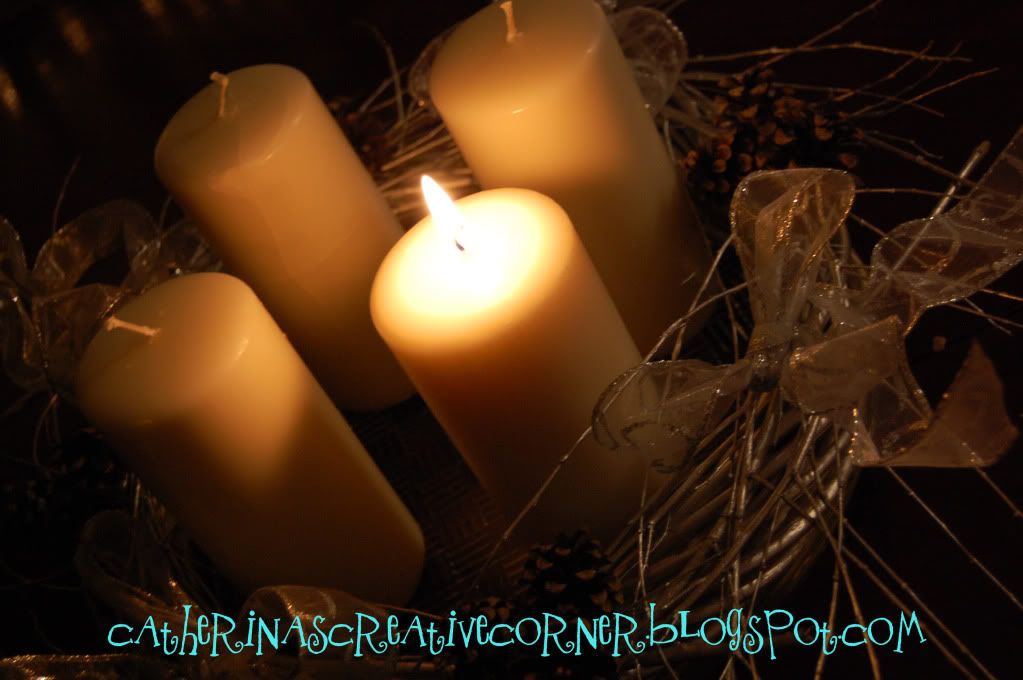
And now last but not least my homemade ADVENT WREATH. I am sure you have heard of the ADVENT CALENDARS, but the WREATH is also something we do in Denmark as a special tradition. Here is the definition of what it is all about;


The Advent wreath, or Advent crown, is a Christian tradition that symbolizes the passage of the four weeks of Advent in the liturgical calendar of the Western church. It is usually a horizontal evergreen wreath with four candles. Beginning with the First Sunday of Advent, the lighting of a candle can be accompanied by a Bible reading and prayers. An additional candle is lit during each subsequent week until, by the last Sunday before Christmas, all four candles are lit. Some Advent wreaths include a fifth, "Christ" candle which can be lit at Christmas. The custom is observed both in family settings and at public church services.

And here is mine!; We add singing Christmas carols too when we light ours. So "HYGGELIGHT" =danish word for Cozy.
Well there u have it! Oh and if u want me to post a "how to" on the Advent wreath I would be more than happy to do so, I just get so busy around here with my kiddies and my growing photography business, I forget when I am creating to write and photograph for a tutorial as I go. BUT I would love to share if anyone wants:-)

HAPPY HOLIDAYS EVERYONE!


Wednesday, October 6, 2010

Vintage Inspired Halloween Tumbleweed Decoration


I spent my Tuesday on creating this new fun vintage inspired Halloween Decoration. I simply LOVE the Vintage Halloween decorations that are all the rave these days. Especially the black and white ones. Well, I wanted to create something fun, cheap and pretty to look at so I picked my brain and came up with this. It reminds me of what we have in Denmark for Fastelavn, something called a "Fastelavnsris". Grabbed my 3 yr old girl, and baby boy in stroller and off we went on a "Halloween Walk". We looked around and with scissors in hand first clipped a few branches off a bush. But unfortunately none of the leaves had fallen off and they were all still green. When in the corner of my eye what was there...a big tumble weed that the recent storm ad "blown in". PERFECT! The best part of this is, that is only cost me.....drum roll please......ZERO $! Yep, I made this out of things I had laying around the house. So here is the recipe so you can make  your own. Feel free to make as many as you want! I only ask (since this is my original idea) that if you want to make your own and post it on the web that you link it back to my blog. AND SEND ME YOUR PICTURES! I want to see what you all can come up with ;-) 
Thanks and have fun creating!

You will need:

A tumble weed or your local naked twigs.

Black spray paint

Vintage Halloween Images printed to desired sizes. I used these, but you can google "Vintage Halloween Postcards" for more ideas;


Modge Podge

Black tissue paper

White tule

Glue gun & paint brush

Scissors

Some sort of card stock (I used the bottom of a orange Gymboree box)

Vase

Fabric to tie around your vase ( I used the edging of an old black skirt that I used to wear when I was 20!) Cut it and zigzag it kind of messy like...pulling and tugging too...creates a cool worn out effect).

Paper clips (as many as you have images to hang)

Needle nose pliers


  1. First find your tumble weed or twigs, trim down to desired size, spray paint it black. Let dry.
  2. While it is drying, go online and choose some of your favorite vintage Halloween pictures. (These are from flicker and you need to click on your image, then "view all sizes" and than right mouse click to Download them. Print them out according to the size you want. Your computer should have an option during printing set up preferences of how large you want them. E.g. I printed most out at 25-35%. Than cut them out.
  3. Next, use your cut images as a measuring tool to see how big you want your yellow card stock. (You use this for the back of your Vintage Cards). I cut mine about .25" outside of the line, so as to create a type of 'frame'.
  4. Next do the same thing with your black tissue paper. You want to layer: Orange Card stock-Tissue paper- Image on top. 
  5. Than with your paintbrush and Modge Podge, glue it all together. 
  6. While that is drying start cutting out small "ribbon like" pieces of Tule, and tying them in small knots, so they look like bows. (Its alright not to cut fine., perfect edges with your fabric to make it look all more Vintage and Old.)
  7. When all your images are dry, cut the edges out so it is kind of cutesie'ish..is that a word? lol
  8.  Than use your glue gun to attach the tule bows to the card.
  9. With Pliers unwind your paper clips and than wind the paperclip around the plyer head. (So as to create a "swirly" kind of spring". Stick bottom of paperclip thru tule bow and clamp the bottom together.
  10. Place crumpled up tissue paper into vase and stick your dried Black Tumbleweed inside. Start attaching your cute Vintage Images!
  11. Tie your fabrics around the Vase. (Tule & Black skirt).
  12. Last but not least "web" your  hot glue around your twigs to create creepy spider webs.


Monday, October 4, 2010

My First Real attempt at Halloween Decor


Here is a little view of my New Halloween Decor. And I get to highlight some of my classic books like Frankenstein, Sleepy Hollow and Dr Jekyll and Mr Hyde). I have really enjoyed decorating this year. Also trying to find ways to make new homemade things with my little 3yr old daughter. She loves "Activities" as she calls them. And notice the cool Bat Jar at the end of this page? Here is the link to the tutorial. It was so Cheap & fun!
Related Posts Plugin for WordPress, Blogger...