Pages

Showing posts with label Sillhouettes. Show all posts

Saturday, November 2, 2013

Thanksgiving how I love thee...

I have been itching to put up my Thanksgiving decor...
Hurray for November!

Here is what I have been working on...

I made this pillow out of painters cloth that I bought from Walmart for like $9.99. I still have a lot left so I am excited for all the other projects I will be doing with the left overs.   I love this pillow so much that I think i will make many more in the future. SMILE.  I especially love how it has the look of linen for a fraction of the price! Now all I need to do to finish this little beauty is to sew a few buttons on it. I am on the lookout for a few cute ones, but havn`t found quite what I was thinking of yet...I will post an update when I find what I want:-)
You can find the tutorial on how to make this beauty here:


 Any suggestions what what buttons to use?
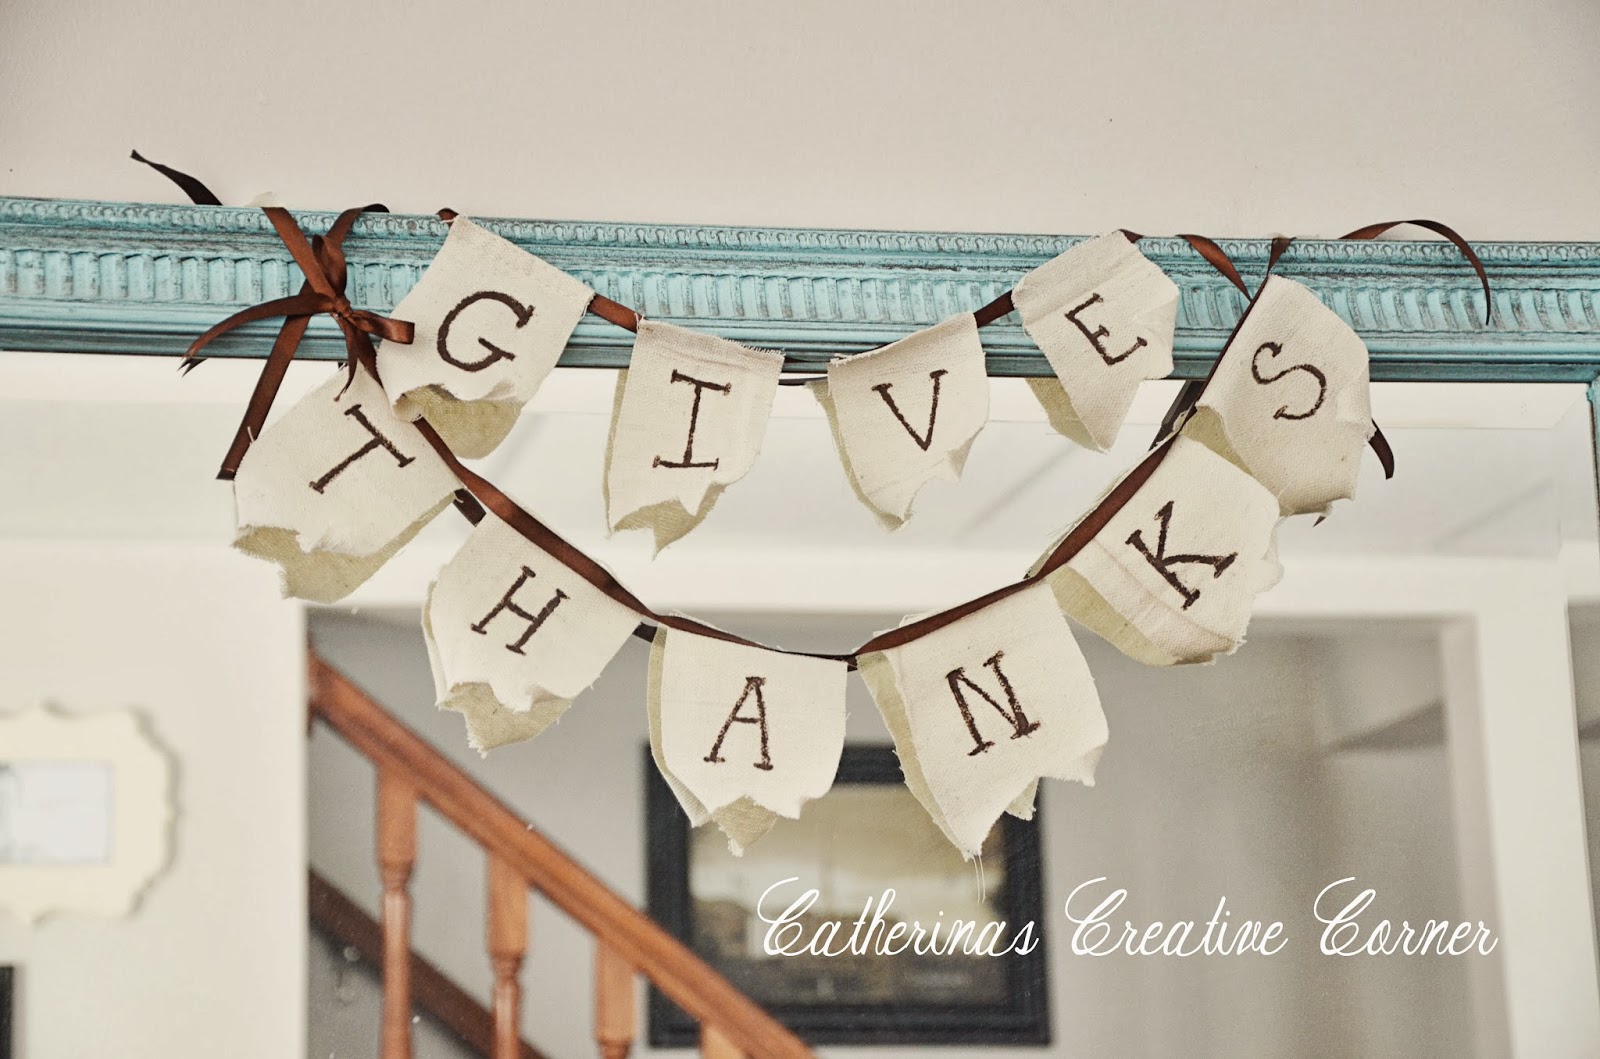
 My next project was a fun one too. I cut out pieces of painters cloth and than painted the ``Give Thanks`` letters on it. Used my glue gun to attach the pretty brown ribbon. The Tomkat Studio was my inspiration for this one. I want to add some more brown ribbon to it, but... I ran out....lol
 Now comes my favorite new Thanksgiving craft.  My inspiration for this came from when I fell in love with Dear Lillies Thanksgiving pillow. (Go buy her stuff, its AMAZING!)   I found some images online of  pilgrim silhouettes and basically made it the same way I did my kids DIY Silhouette art.  I used fine white fabric for the cream parts and glued them on. I love love LOVE it;-)  
 The best thing about these is that they remind me of my own two kids...
Next is my cute little ``give thanks`` sign. Yup...just drew it up with my sharpie pen.  

 These cute little gobblers (salt and pepper shakers) were found at Tai Pan Trading for only $3.97, just today in fact!  

Happy Thanksgiving to all!
I have SO much to be grateful for this year. 

hugs
Cat

Wednesday, October 23, 2013

DIY Silhouette Gifts (Fathers Day)

Anyone who knows me knows I LOVE silhouettes. I still remember at my Grandmothers house in Denmark, there is a tiny silhouette picture of her father (my great grandfather), one that someone made. Im not sure who did it, but I LOVE it! When I was a little girl I would always admire it. I think it is amazing what a simple silhouette can portray. 
ONce in a while I make some of our little family. And Since we added baby nr 3 I havnt had a chance to make some updated ones of all 3 of my babies. For fathers day this year I had the kids make their Daddy some art. This is what we came up with. It is SUPER fun for the littles to do, and I like it myself so here is how you do it.
AND wouldnt these make GREAT gifts for Christmas too?! 

You will need:
A camera
cardstock/colored paper
canvas (i used 8x10 i think)
craft paint & sponge brushes
modge podge
fine sharpie pen
scissors
craft knife
a steady hand;-)

First thing I take the kids pictures with my camera. From the side. So as to see their silhouette.  For my baby i had one of the kids distract her so she wouldn't look at me, but at them. Worked like a charm.

I put my kids to work by letting them paint their own canvas. Error free mind you because they had freedom to paint their all one color as they would :-) They LOVED doing this.  

Let it dry for a few hours or even overnight.

Next I uploaded the pictures to my computer and simply printed the images out on the cardstock/colored paper that I wanted to use. Played around a bit to get the size I wanted too.

Next I cut the pictures out. Pay attention to detail! ONly cut out their silhouette. I did so with my scissors. Because some of the details are lost in the image itself, I used my craft knife (or a razor blade) to etch out the hair or creases in the clothes. It helped especially for the girls pictures.  else my oldest daughters long hair would not show up on the silhouette. And I think it looks alot more like her with those details. Its totally up to you. ;-) For my son I didnt need to do that. 

Now after that I got the modge podge out and glued the silhouettes onto the canvas. (watch out for air bubbles, so smooth them out carefully). And than I let my children paint their own canvas with modge podge. They really covered them up nicely. Again Just take care they dont get any air bubbles under the silhouettes.

Once dry I wrote their names and ages on the bottom of the pictures with a sharpie pen.


 (Sorry for the glare on the pix...my hallway has not very good lighting...)
I just love having these pictures to look at.  I have made few different ones throughout the years. Its been 5 months already since we did these, and already my kids have grown SO much! Especially my baby girl.  I love having their littles profiles etched into time forever!

Thanks for stopping by!
Cat
oxoxo

Saturday, January 5, 2013

Emilie Ana's {Vintage Inspired} Nursery


 So beginning Forever ago I began putting this nursery together. I am glad to say that I am finally done! I really love anything Vintage and Antique so this the theme I went with for my last babies nursery. There are so many small heirlooms in here too...its so very romantic.  Girly, pink-cream-gray-dash of red, and all things frilly, lace and ruffle! 
Here it is...
I am in love with how it turned out.


My sweet cousin made these yarn pom poms..she used them to wrap this darling blanket she made...I recycled them and added them to this lamp!

Some old vintage books. The "Easy Steps in Sewing for big and little girls" is actually an antique...100 years old this year. It is quite the little enchanting book....I started reading it to my 5 yr old daughter, and both her and I were captured by its magic!

I used the burlap mermaid table runner for her dresser...

Pom Poms! I love how these turned out! 

The little dress was her LDS Blessing dress and headband.  I framed some "Ugly Duckling" silhouettes that my aunt custom made for me years ago. The tiny baby picture is and old one my Grandma had hanging up in her house in Denmark for years. She gifted it to me last year...it is a picture of Yours Truly ;-)

I found a place for the {E} button picture...Love it!
"Friends"

Also the Duvet Cover they are sitting on I made, to match the banner above her crib.
I reused this bumper from my first daughter. Added lace to the top to give it a new feel.


Painted antiqued and distressed shelf

The tiny Danish Little Mermaid vase was given to me on the day we arrived to Denmark in 1986. Again a gift from my Danish Grandma "Farmor".


My all time favorite flower "Hydrangea"....dried from this summers garden.
Antique Tapestry from an old Salt Lake City Victorian Avenues home. My mother rescued it from a sweet families garage...They were happy to let it go to someone who would display it...I LOVE IT! 

My old Danish Antique tin doll....and a new tiny pair of crocheted booties...for our Emmie Girl.
Linking with:

Thursday, April 7, 2011

When I was about 8 years old, my art class in Denmark made silhouettes of ourselves. I have wanted to make some more ever since but never got around to it. Well I finally (20 years later) did it! I LOVE IT!!! I read that Nie Nie makes new ones of her family every year, so I thought I would start that too. {now to make a new one with my baby boy on it} What a great tradition. It is fun to see how we progress and change:-) And this is a fun way to be crafty...AND add inexpensive art to my house. I cant wait to make some more!

Related Posts Plugin for WordPress, Blogger...