We have been in desperate need of some book shelves for my kiddies! They have SO many books, and one basket does NOT cut it anymore. So the first time I saw this idea I was inthralled! Bookshelves out of a Pallet?!?! I couldn't believe how cool they looked, and I was so ready to make some! BUT I was totally intimidated because it involved some real "labor" aka. using a saw & nails. {I felt the same way I painted a piece of furniture for the first time too}. So since we have these laying around our place from time to time I was determined to make some. All by myself. Its funny because when I told my hubby about the idea, he was like "uhhh...what"? And that gave me even more determination to do it without his help. So off I started!
Here is the
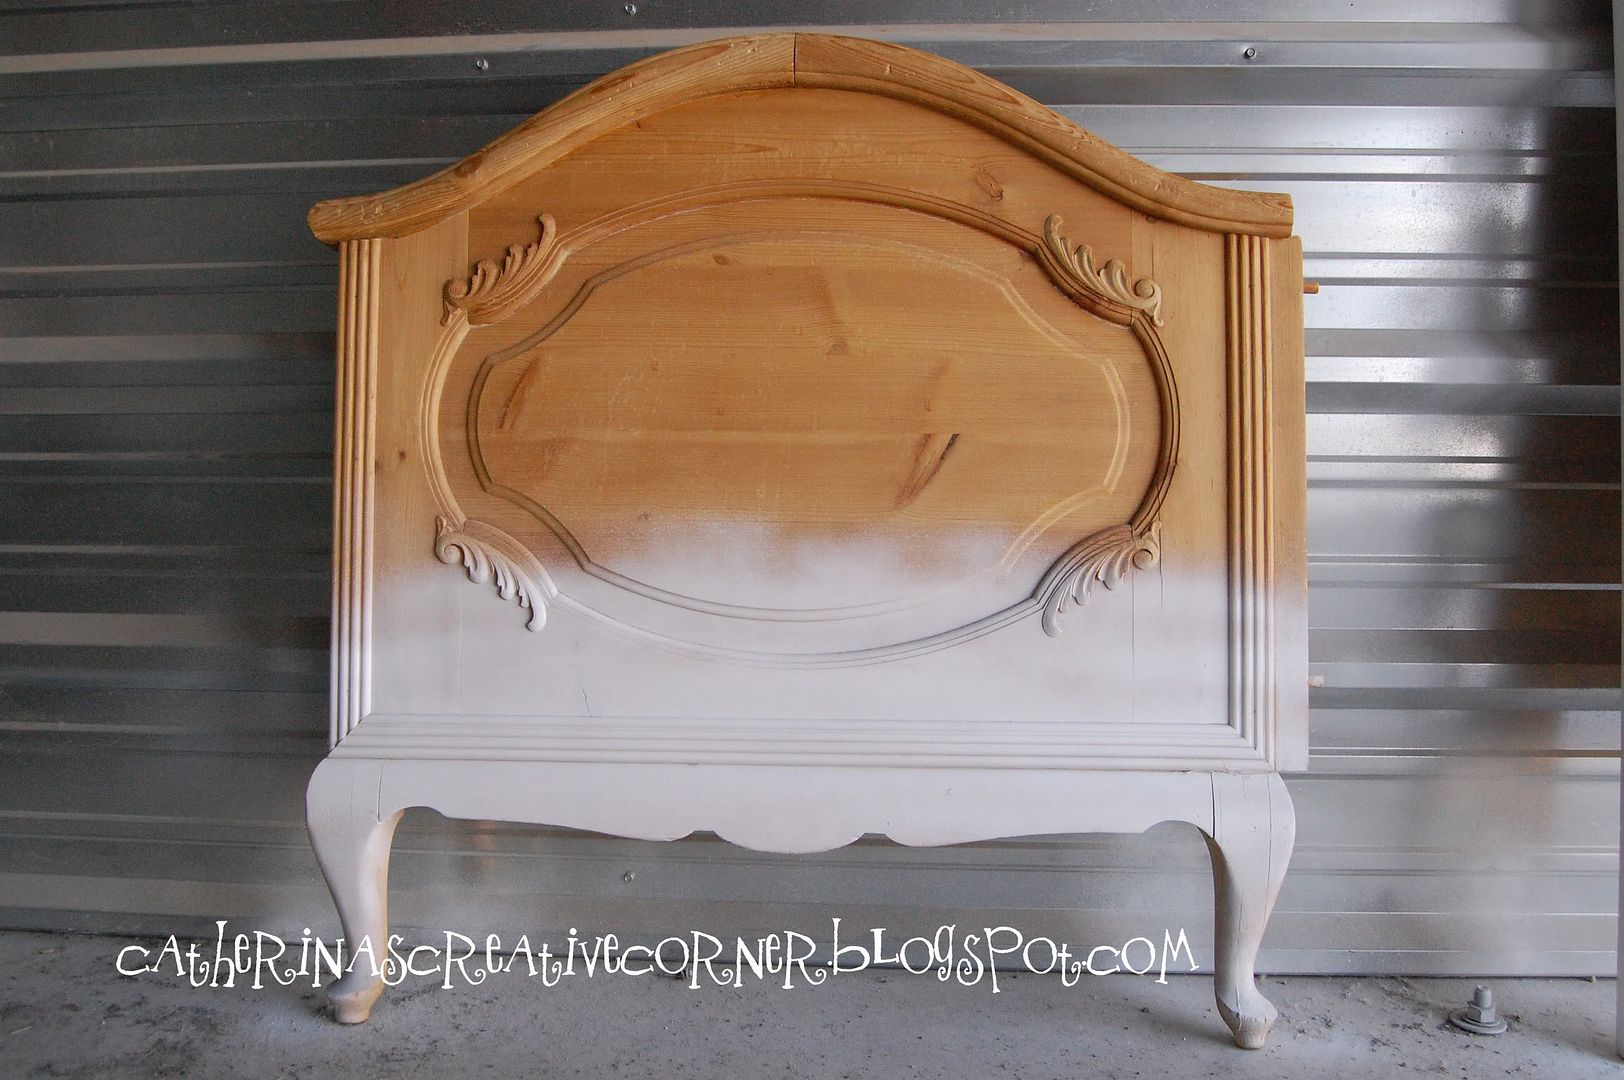
BEFORE:

For detailed instrutions check out this tutorial here
you know, I cant take all the credit for this one! lol
Here is where I placed it once all done. IN the hall. This hallway is used as my kiddies "playroom". Both of their rooms meet up to it, so it is the PERFECT place for all their extra stuff. Plus it is completely out of the way from any of the other rooms upstairs.{We are pretty limited with space, so every empty space counts!} p.s I am working on decorating that big empty wall, still gathering inspiration for that one.:-)

And here is what they looked like after sawing, hammering and sanding all the "ouwies" down. Before they were all done, my hubby saw what I was working on. {I still needed to hammer the bottom in plus pry the middle boards out at the time.} He thought they were so COOL that he went ahead and finished them for me, without me even asking! He's the BEST!
Than after that, I tried to "white wash them". All I did was take some acrylic white paint, watered it down, and slapped it on until I got the desired amount of "white wash". I love it! Took sandpaper to them too for a bit distressing too.
I kind of went back and forth with the thought of spray painting them solid white and than distressing them...what do YOU All think? Should I do that? Or do you like the weathered "white wash beachy" look?


A close up. I simply adore all the texture the white wash gives them. The pallet wood was so cool looking before...it really works for this.


I left them on the floor for now. Not sure if I want to hang them on the wall right now. I will do that once we have a bigger place for sure. {I think}.

LOve all these "rusty" details!

Oh how my kids L.O.V.E books! But even more now they are
are playing "Library" 24-7! ANd since they can see all the covers they are now putting the books AWAY! Hallelujah!! :-)
OH And I TOTALLY forgot to tell you all, that the total cost for this project was...drum roll please.....
ZERO $!
{just had all this stuff kickin' around here}
oxoxox CAT